Hello my crafty friends! I am back today and sharing a short process video on a card I created using one of the 3 backgrounds I created with the butterfly stamps. Below is a full process video, although this card make is really simple, since I already had my background done! Let's get into it!
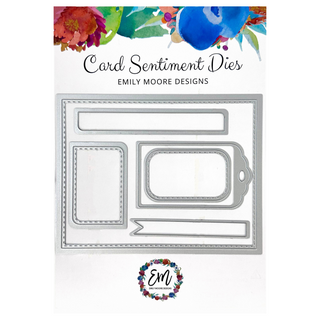
I started out by using our Card Sentiment Dies A2 Liner Die to cut out my background. Although the paper I used was A2 size, I like having a little border around the front of my cards (1/4 inch to be exact) and it also leaves us with those lovely stitched edges. I adhered this card base onto the front of my A2 card with some Cherry Tape. I like this tape because it is very sturdy and it takes away any of the warping effects I had on my paper from the water coloring.

Next, I knew I wanted to play on the butterfly theme & create a larger butterfly for the front of my card. I thought about making a watercolor blue one to match my background, but then settled on a black butterfly. I thought that would be fun to do since I don't often make dark cards. I used Tim Holtz Butterfly Die Cut and layered on the pieces. I then sprayed some Mica onto my butterfly (the same one I used on my background) to add a little coordination but also some more dimension to my butterfly.
From there it was quite simple. I ended up using a saying from our Beginner's Card Making Class, or a Bundle that includes the class! When you purchase the class, you automatically receive 3 pages of printable downloads that coordinate with our Card Sentiment Dies. They are meant to be for birthdays, but I some of the sayings I created are extremely versatile as you can see here! If you purchase a bundle, you'll receive our Card Sentiment Dies (not to mention a lot of other goodies) along with the class & printables, so it's a great deal!
I also finished the front of my card with some Bogota Sequins from Catherine Pooler.

I ended up just keeping the inside simple with another A2 Liner cut out, and when sending this out I may include some of our FREE Encouraging sayings. Instead of gluing them into the card, I figured I could keep them loose so the person receiving it can put them wherever they'd like!
I hope you enjoyed this card make, let me know in the comments what you'd like to see next!
With Heart,
Emily
Disclosure: Compensated affiliate links may be used above at no cost to you. I only show you products from companies that I believe in and purchase from personally. Thank you for supporting me so that I can continue to bring you lots of fun crafting content!


