Hi crafters! My love for crafting began with paper, but as a crafter I never want to put myself in a box and I always enjoy trying new things, especially if it means being able to show you a "beginners guide" to some fun new stuff. Today I am sharing the basics & everything you need to get started using Alcohol Inks! Below I have a full process video if you'd like to watch the magic take place "live!" Hope you enjoy!
You just need just a couple of things to get started using Alcohol Inks. Luckily, here at Emily Moore Designs, I strive to give you exactly what you need so it's easier for you! That said, we now offer an Alcohol Ink Kit, that includes the yupo paper, blower, alcohol blending solution, green alcohol ink (mojito) & alloy gilded alcohol ink (a perfect shimmery gold!)!
- Alcohol Inks, of course! In these projects I use a Alcohol Ink Pearl Set from Tim Holtz.
- Air Blower - this helps to move around the alcohol ink on your paper
- Yupo Paper: this is a synthetic paper that is non-absorbent and allows for beautiful creations with alcohol inks as well as other mediums. There's also Black Yupo Paper & a clear you can use your alcohol inks on!
- Alcohol Blending Solution: This is basically isopropyl alcohol, helps to move the alcohol ink around on your Yupo paper (& you can erase any errors you made with it!)
That's basically it! There are a ton of different alcohol inks & more fun stuff you can grab - like the Gold Metallic Mixative I talk about in my video but don't have here in my craft room. Below is a result on some Black Yupo paper using that beautiful gold as an accent.

To begin using alcohol ink, you start with your Yupo paper, then add a nice amount of the blending solution onto your paper directly. This allows the actual alcohol ink to move around.

Then, add your alcohol ink, just a few drops goes a long way. Keep building on your colors with layers, or add different colors each time! Use your Air Blower to push the ink in the direction you'd like, and create some beautiful abstract images.

Kimberly Deene Langlois is an amazing Alcohol Ink Artist specializing in alcohol inks & teaches her own classes showing how to create amazing florals and more. If you wanted to learn more about Alcohol Inks, I highly recommend you check out her work & classes. I had the opportunity to take one of her classes last year and it truly is amazing! This is how I got introduced to Alcohol Inks. You can find her website HERE.
Below is a picture of a floral image I created during her class!

Another neat thing I learned is that our die cuts can, in fact, cut through Yupo paper. Yupo paper is more plastic, and a little bit thicker, so I wasn't sure if it would cut well or not, but our dies cut it out super nice! I cut out our Original Gift Card Holder and look at how beautiful it turned out below.
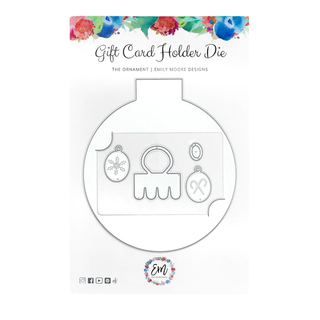
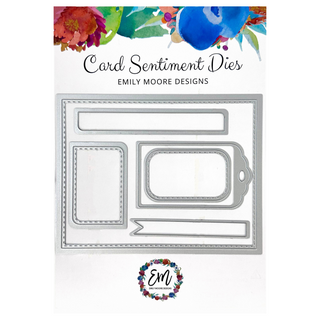
Not only that, but Yupo paper is quite sturdy, so it truly does make a fantastic Gift Card Holder! I love how unique this turned out - and how much fun would this be to gift to someone! If you wanted to add some stamps, you could use our Card Sentiment Dies for that. Also, look how neat this looks on our Ornament Gift Card Holder Die:
 It really shines & is super iridescent just like an ornament!
This next technique is using a plastic or paper cup to make fun bubble type designs.

I also splattered some alcohol ink onto this design, then also splattered some blending solution and I loved how that turned out!

I hope you loved this tutorial of alcohol inks! Be sure to grab our Alcohol Ink Kit if you want to try out these super fun techniques! I'd love to know what you'd like to see next, let me know in the comments below!
Happy crafting,
Disclosure: Compensated affiliate links may be used above at no cost to you. I only show you products from companies that I believe in and purchase from personally. Thank you for supporting me so that I can continue to bring you lots of fun crafting content!


Kimberley Chilton
Everything you created is so cool!
I really love that floral image you did in class!👍💗
Kimberley Chilton
Beautiful,so fun! Need to grab some Yupo blending solution & a blower.
I have tons of alcohol ink.
I want to try the Dixie cup flower affect!!!