So what about the inside of your card?? Sure, there's TON'S of inspiration out there for decorating your card fronts, but the inside? Why don't we see more of that? To be honest, I'm not sure of the answer. I think it can seem a bit overwhelming.
I wanted to provide a blog featuring ideas of how to decorate just inside of your cards to take away that overwhelm! Below I have a longer video if you enjoy watching the process. I also feature photos of each card inside I created along with the card sketch (if applicable) that I used if you keep scrolling. I hope this inspires you to create & helps with how you can decorate the inside of your cards!
First Idea: Keep It Simple.
When I first began creating cards, I didn't even know about die cutting if you can believe it! I used to just use patterned paper, and I LOVED using note cards & graphics that come with some/most of the papers I used. 'Til this day, I still enjoy using journaling cards, graphics from paper & more to embellish the inside of my cards. Now, I just use my die cuts to make them even cuter!
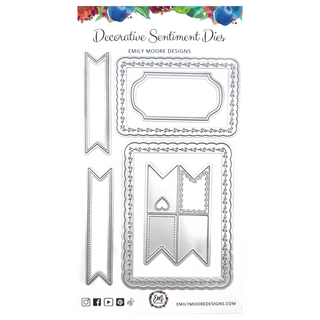
For the card below, I decided to frame this cute journaling card graphic using our A2 Liner Die & cut out the actual journal card from our Decorative Sentiments Die (the largest frame). When I designed the Decorative Sentiment Dies, I knew I wanted that largest framed die to line up nicely inside our A2 Liner Die. You can grab both these die sets in our bundle today!
I used some Glacier Ink on my A2 Liner Die (direct-to-paper technique) to make the image pop even more! Thin foam squares worked nicely for this larger cut out, and added a little dimension (as well as some sequins, of course!).
These two dies also work nicely together for the inside bottom half of your card (or just the other side of your card) for a decorative space to write!
Here's the outside of this card - notice how I coordinated the red A2 Liner Frame on the inside bottom half with the front of the card! & you might recognize this card from another blog post!

Not mandatory, but also cute if you have leftover flowers, sequins or anything that matches your card for that space you write on for a little fun detail.

Next Up: Card Sketches!
These card sketches are "recycled" from past card sketches I designed for the Creative Hearts Club! They are ALL still so extremely useful & my using them here proves you can definitely use sketches more than once, PLUS you can always rearrange & make them your own!
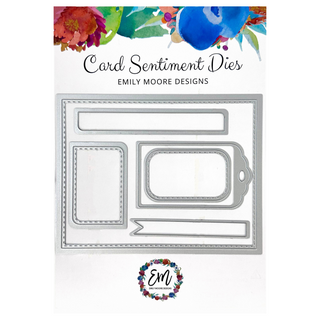
I love using the gift tag die with graphics from patterned paper as well. If you align it just right, it looks like it was meant to be that size tag anyway!
 Adding a little white paint splatter to the yellow background of my card made this stand out even more.

Notice also how I didn't follow the sketch completely, & recreated the design to fit with what I was using!
The all the happy things Stamp Set worked beautifully here - such a simple & perfect saying & could be used in so many different occasions!

I also did the A2 Liner Die with the Decorative Die combo on the right side of this card, no decor this time - just kept it nice & simple. I love coordinating the colors to both the inside of my cards & the front as well! Here's the front of this card, from the "Fun & Simple Framed Cards" blog post I mentioned before!
I used the purple doily I cut out from the frame of this card front on the inside of the card, then utilized the yellow that I'd also used for the flowers! I felt this one came together really nicely & just so happens to be my favorite. :)
Featuring a bit more geometric elements. Circles & squares - oh my! The Doily Oval came in use here also, & I did a fun trick with the A2 Liner Die that you'll have to check out on the video! This one was a lot of fun, and you'll see how I steered a bit from the Card Sketch also here to what inspired me the most.
 This card was fun to create, I already had most of the elements cut out & it always feels good to use up those pieces!

I loved the greens & pale oranges of this card, and found a stamp I had already stamped in a nice light orange that reads "it's your birthday!" from all the happy things Stamp Set.
I also, of course - used the A2 Liner Die & Decorative Frame on the bottom half of this card!

 The front of this card is from the "Peek A Boo" Card Blog! I loved finishing off these cards!
Honorable Mention!
The inside of this card was so much fun to create - and you may have seen the video of it, but if not you can check it out HERE!
Using our decorative banners as truly decorative, with CP Inks & patterned paper as the background truly adds some color & dimension that everyone loved! I'm so glad you all love this technique. It's really fun & simple to do. I hope you try it out!

Now just to finish the front of this card... haha - the cardmaking process continues!! If you loved the inspiration you saw here today, be sure to check out The Creative Hearts Club, where I provide monthly card sketches for both the outside & inside of your cards as well as a full process video of my card result! (plus a ton of other fun perks!) I hope you'll join us!
Until next time,
Em :)


