

Hi my crafty people! I am excited to be sharing a fun technique with some collage paper to create your very own background for cardmaking (& more!). You can see a full process video below on how I made this, and keep reading if you'd like to see some more pictures!
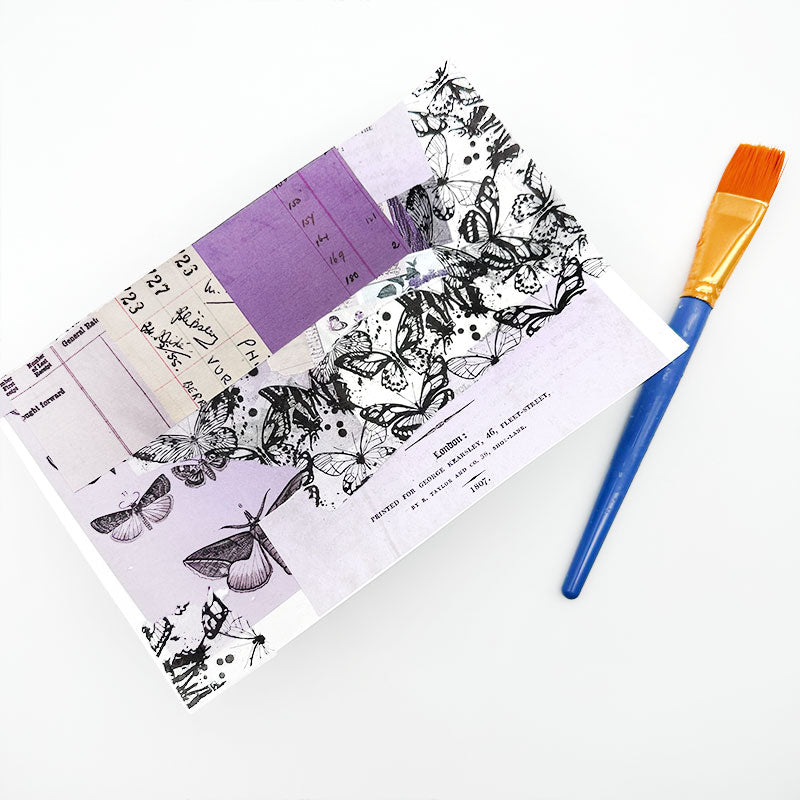
First, I started with some Lavender Collage Sheets from 49 and Market and Dina Wakley Flying Things Collage Tissue Paper. The difference between the two is in the name: Dina Wakley's is thinner resembling tissue paper, while the 49 and Market, while still thin, isn't transparent. I used some mod podge (matte) and pasted a bunch of ripped pieces onto an 8.5x11 sized paper. I covered the whole sheet of paper, and then set it aside to dry!

When Mod-Poding, you want to cover both sides of the paper to make sure it sticks down really well. Then once you die cut it, you know it will stay all together in one piece.
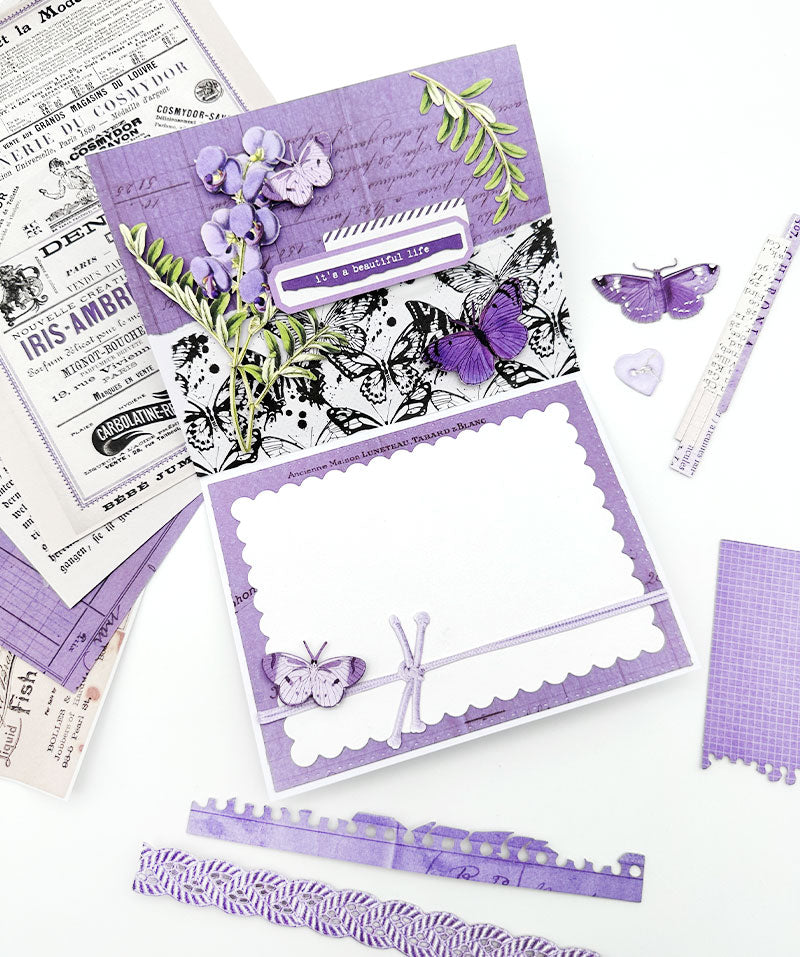
While waiting for my paper to dry, I decided to work on the inside of my card. The Laser Cut Elements from the same Lavender collection came in handy here, with a nice saying and some floral ephemera to add some green pop to all the purples. I also decided to use some more of the collage & tissue paper on the inside of my card, this time just adhering it down with some tape, since it was just two separate pieces.

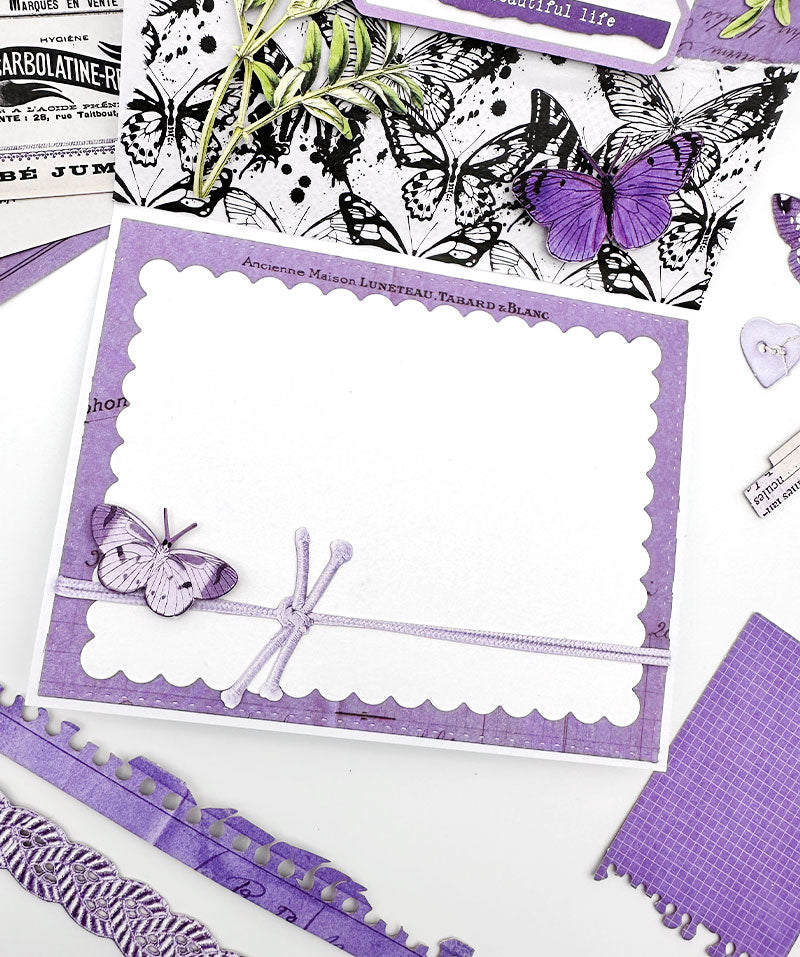
Then for the bottom half of my card I used another collage sheet from the Lavender collection & and cut this out with the A2 Liner Die in our Card Sentiments Die Set. I used Catherine Pooler's Scallop & Dots Die Set to cut out a white liner so the purple would be a border, and then decorated the bottom with some laser cut elements. I love the way 49 and Market makes ribbons & knots look so realistic!
By this time, my paper had dried (enough) although I would wait a couple hours if you have another project to work on. Mine cut out fine, but was still a little bit wet and may have cut better if I had waited. But, patience, is not my strong suit while crafting!
So I cut in half the 8.5x11 sheet so I could run it through my die cutting machine with the A2 Liner Die. I just choose a part that I liked best, but I definitely will be making another card this way because the whole sheet turned out so lovely! I just love that when you make that cut, no matter what -- each piece will be different.
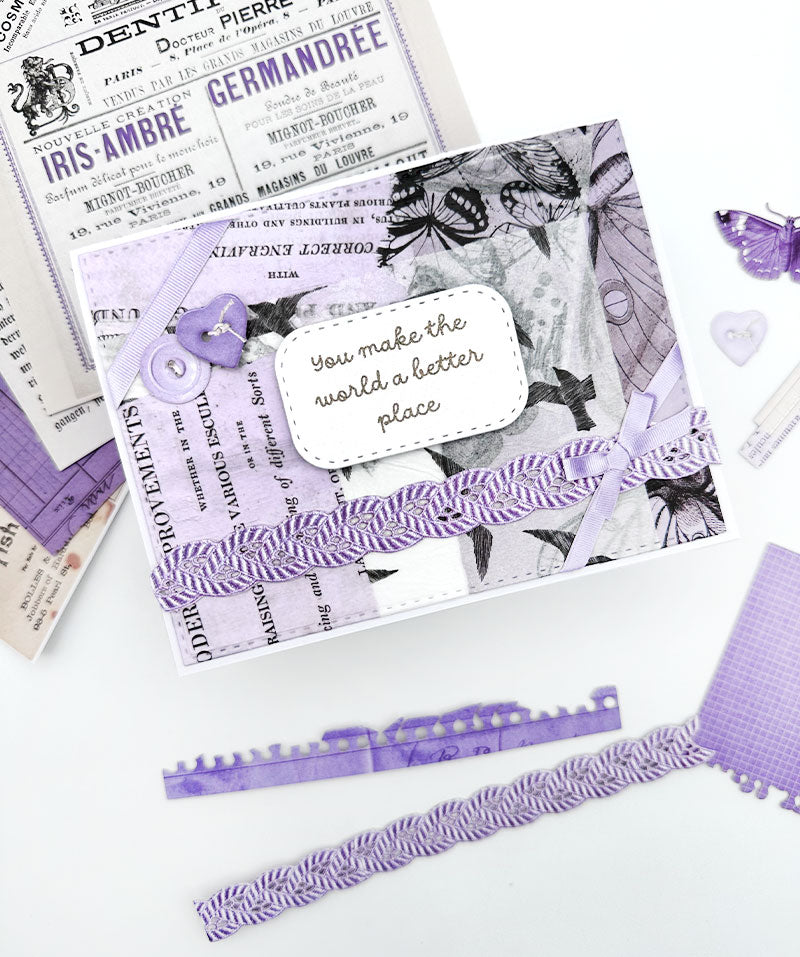
So now I had my beautiful background, and to be quite honest - I didn't want to add much more to it because it was so lovely! I decided to add some more of the knots and ribbons from the Laser Cut Sheet as well as some adorable buttons. Then from there, I had already had a cut out from our FREE download - the Love/Valentine's Sayings - although you can see by this card, you definitely can use this for more than just Valentine's Day! I made sure to have some versatile sayings on here so you can use it all year round. Plus, these coordinate perfectly with our Card Sentiment Dies - giving you great options without needing stamps.

I hope you loved this card make as much as I did! Shout out to my crafty friend Jessica Mikels as she did something similar that inspired this idea! Hope this inspires you to create today :)
With Heart,
Emily


