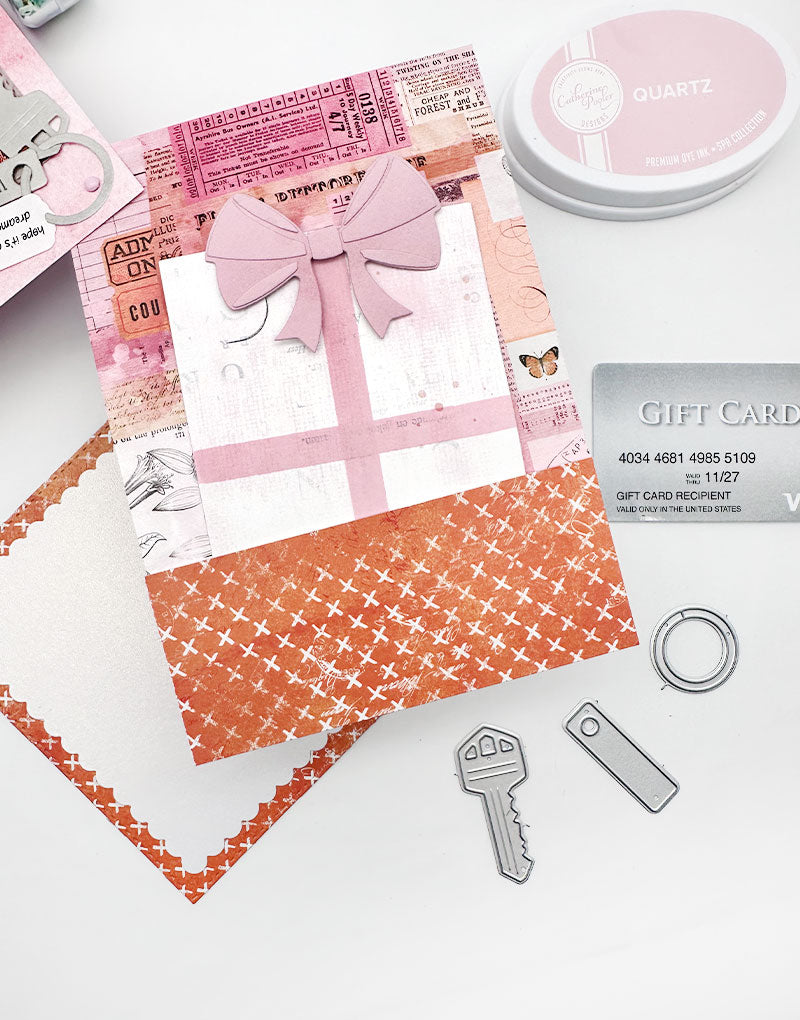
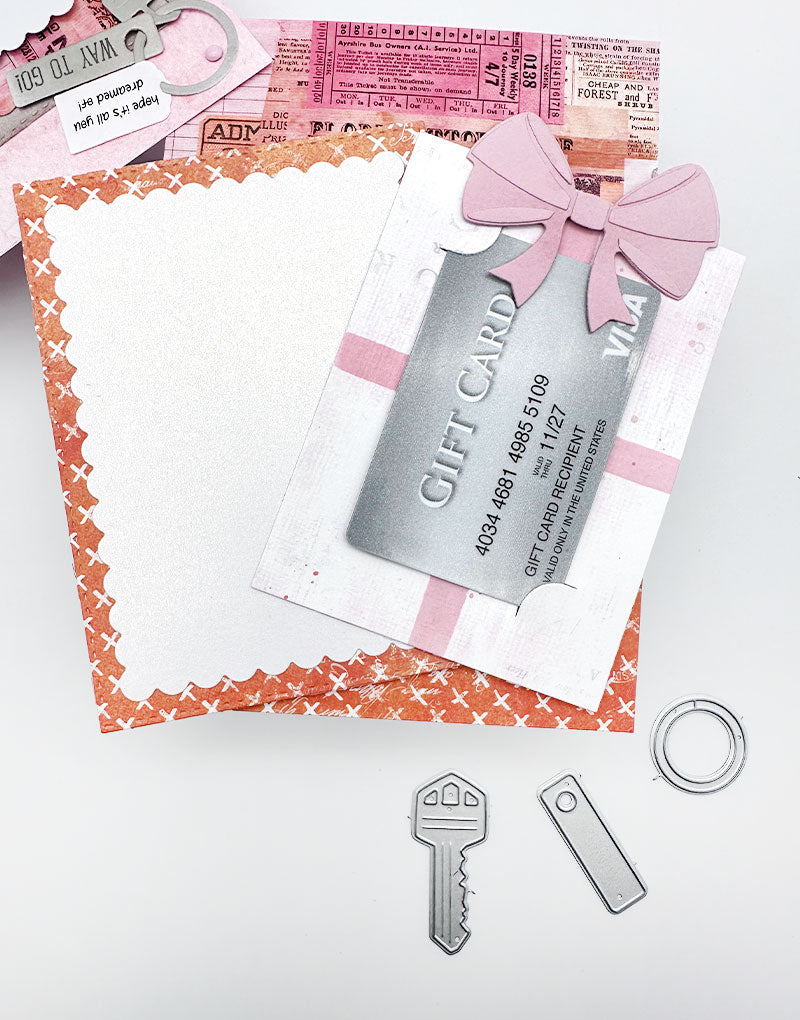
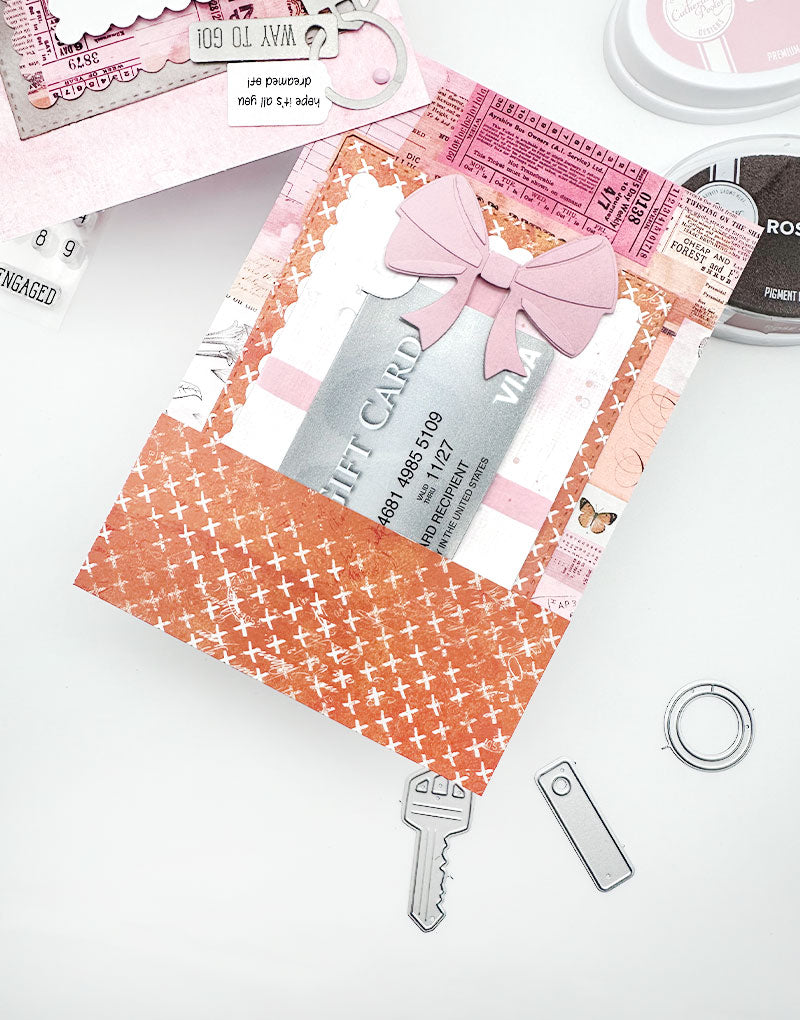
Hi my crafty friends! I am very excited to be sharing this very exciting new card make, featuring some lovely new Catherine Pooler products, but also featuring one of our NEW products, the Gift Card Holder Die - With A Bow. You can find a full process video below walking through all the steps I took to create this beauty!
First, I started out by trimming some cardstock down to 5x7. I chose two pieces of 49 and Market paper I had in my stash. I loved the different patterns of the pinks and oranges and knew I wanted to play of this fun vibe. 5x7 is known as an A7 card, which is larger than our A2, and a nice roomy size to fit our Gift Card Holder Die with that adorable bow.
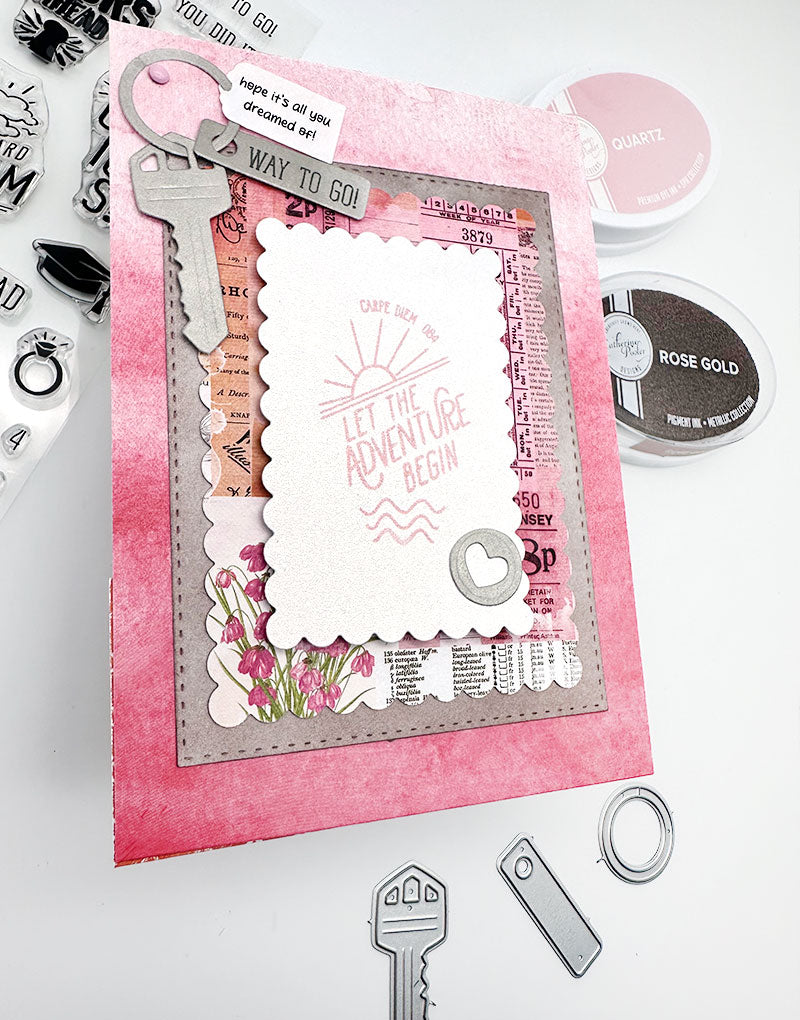
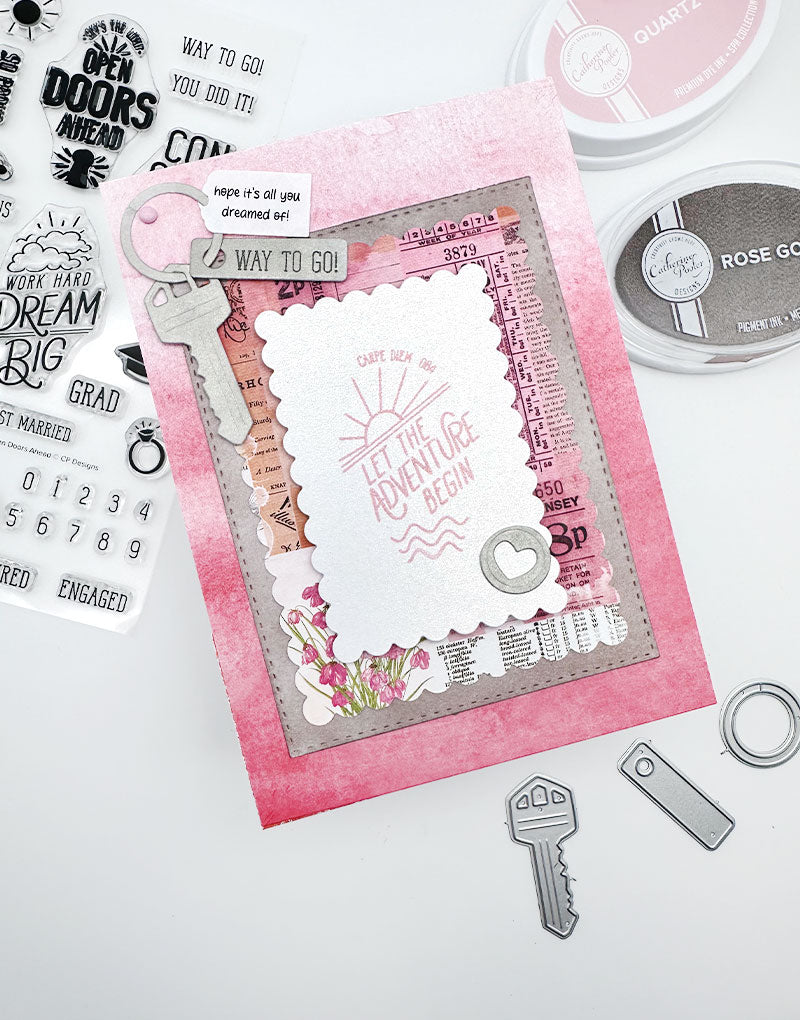
I love doing a lot of layering when it comes to card making, it's really just my style! I find it adds more dimension and visual appeal and then you can really utilize your patterned paper this way! I started by cutting out an A2 Liner from our Card Sentiment Dies and then ink blended the sides with some new Rose Gold Metallic Ink.
From there, I used Catherine Pooler's Dots & Scallops Dies to cut out some of the pattern paper, then a smaller portion to put my sentiment on. I used the brand new Quartz color to ink that lovely saying onto some white cardstock, I love the new Quartz color! It's such a beautiful pale pink.

The super fun & unique part of this card that I can't wait to show you is the brad I put in the corner. I first created a fun key chain with Catherine Pooler's Suite Motel Key Dies and some Platinum Ink! I ink blend the Platinum onto some cardstock first, and then die cut it out. It seems that way, I don't need the Fixative Spray to dry it, although if you are getting these inks, they are slow drying, so you may want to grab the spray just to have it. I also added in one of our FREE mini Gift Tags you receive when you purchase the With A Bow Die, making this adorable key chain!
Back to the construction of the card, I poked a small hole in each of the pieces of paper I cut out so they would line up once I put the brad in it, that way you can twist it open!
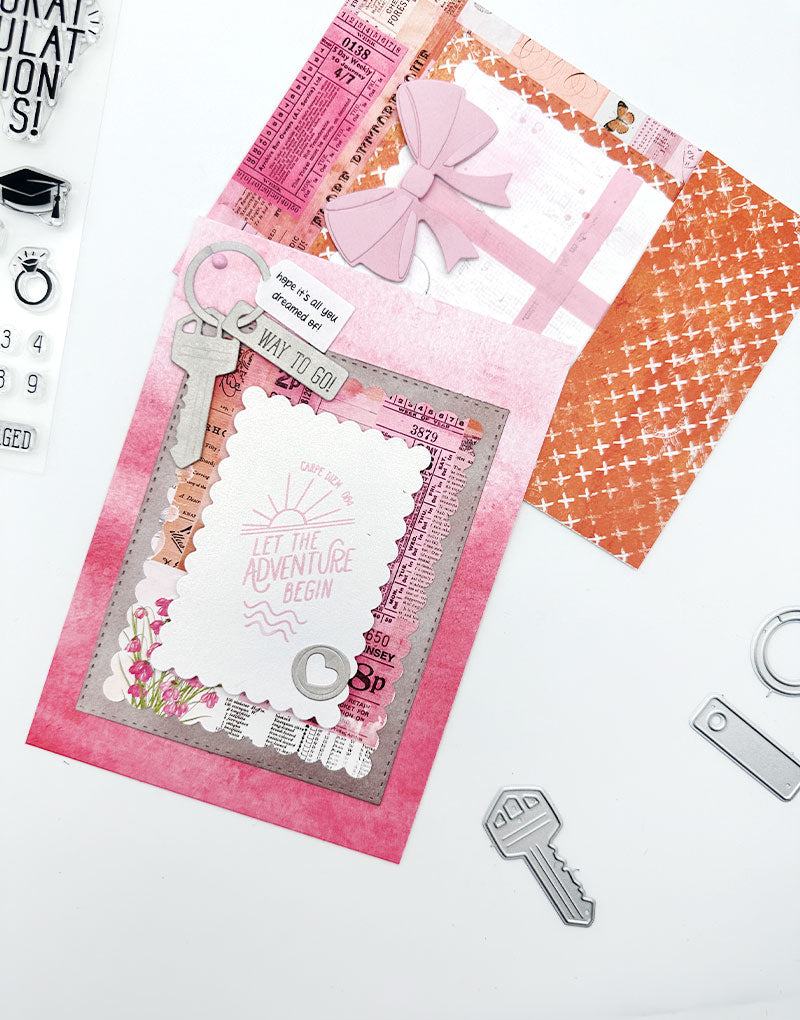
My next step was using that lovely Quartz to create my bow. I first put the ink pad down, direct to paper onto some white cardstock. I then cut out all the pieces of my bow, then assembled! To create the "ribbon" on my Gift Card Holder, I first just cut it out, and then used some tape to create strips that I could then use the Direct-To-Paper technique again with the Quartz ink pad. Once dried, I put my bow onto my holder with a small foam square, so I can still fit the Gift Card into the holder with ease!
