

Hi crafty friends! A while back, I created a beautiful holiday pocket card and I received a lot of questions on how I made it! I did create a short video, but I promised you all I'd make a longer one, and here it is! Today I am going to be walking you through how to make your own pocket card! You can find the full process video below.
The first thing I like to start out on doing is cutting out two card bases. This is made really simple with our Card Sentiment Dies! I just use the largest A2 Liner Die and cut out two different papers I like & that coordinate together. The only thing to keep in mind is to make sure to select a pattern that isn't directional for the pocket because you do end up cutting it and rotating.

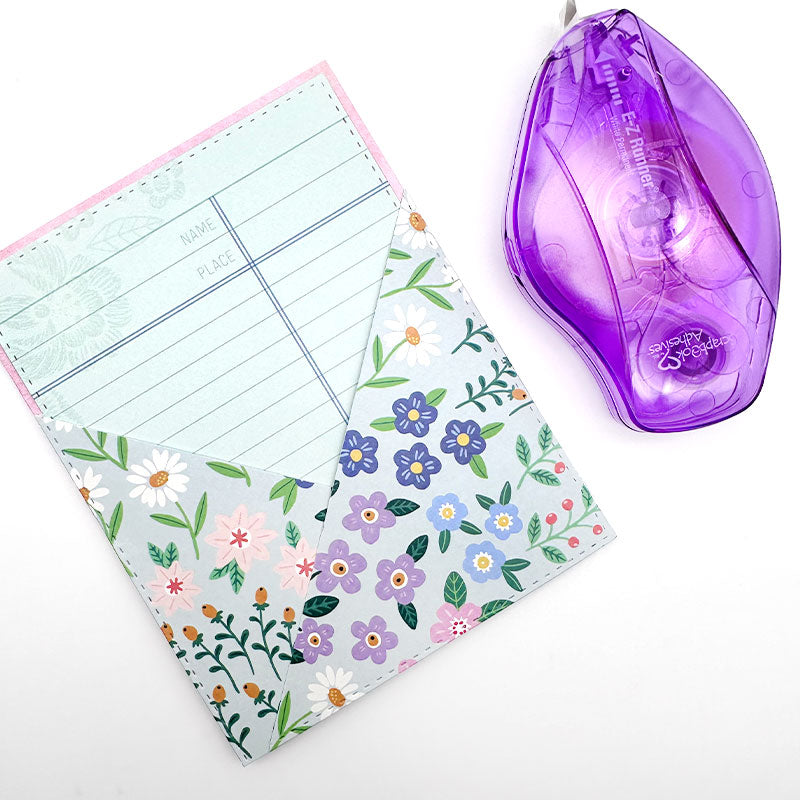
I like to have a more "plain" background for my pocket card & then something more wild & patterned for the front of my pocket (since that's what will be shown). That's just my style though, the best part about this type of card is you can use what you love & have in your stash! The next step is to take the "pocket" portion and score the long edge to 4 inches. This will create a perfect square since the short end of our A2 Liner Die is 4 inches in width as well! From there, you cut diagonally in the middle, from one corner to the other to make two triangles. I demonstrate this in my video - don't forget to watch!

Now to assemble the pocket! I like to make this pocket to the edges of the card base, so 4.25 inches in width. I demonstrate in the video how you can use your score board and line it up perfectly to put the adhesive on with ease. You only really need 2 strips of adhesive on the back side of the pocket, so you can overlap the two triangles and create your pocket! If you'd like to see all the specific adhesive I used on this card, you can check that out here!

I also ended up putting a little strip of adhesive on the diagonal, just to secure the pocket in place. Now we have our pocket!

Once you have your pocket complete, you can move onto assembly! Place your A2 Liner onto the base of your card, then you can put your pocket down. In order to put your pocket down, you will want to put some skinny adhesive on both the sides AND the bottom of the pocket - make sure NOT to cover any of the top portion of the pocket.
Now you can decorate! I grabbed some light purple cardstock for this card to also create my Gift Card Holder so it matches perfectly! How beautiful is that!?
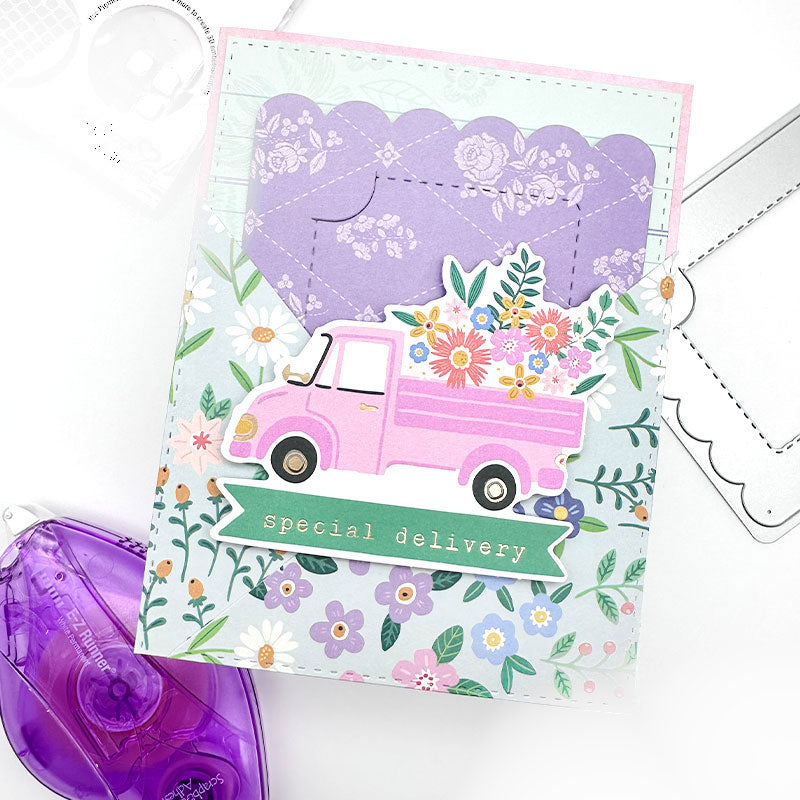
Here are some photos of the card I created in my longer YouTube video also:
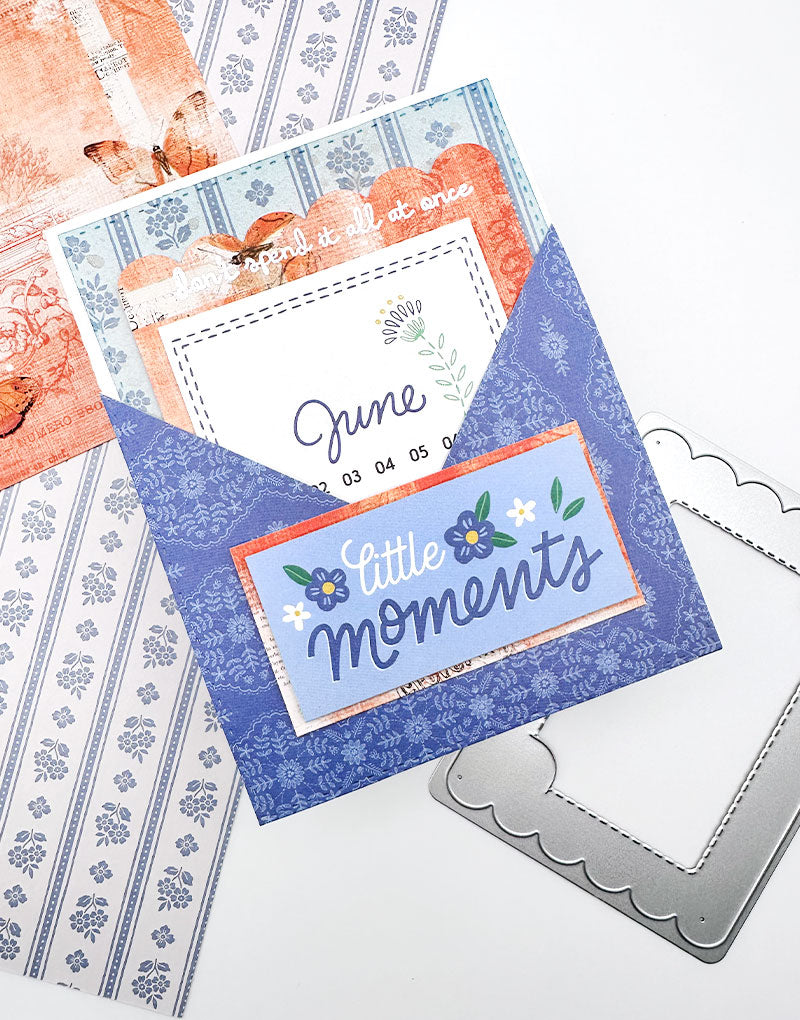
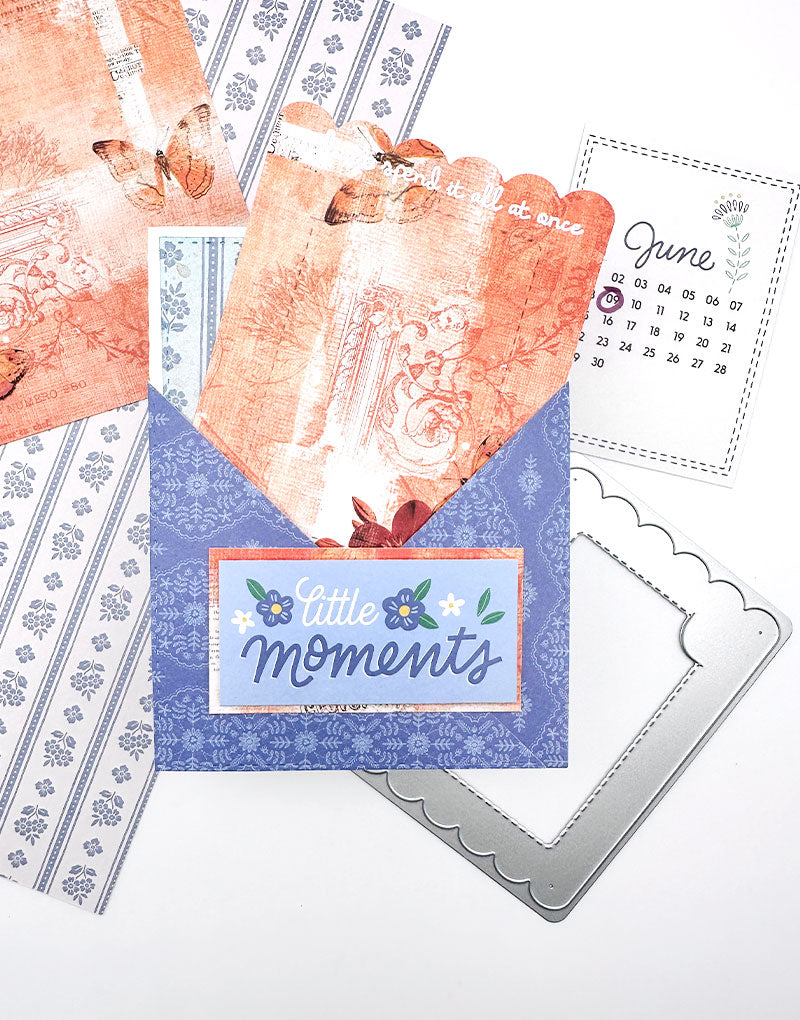


I used some 49 and Market paper I had in my stash for the Gift Card Holder, and the weight of that paper worked beautifully! I hope you love this version of a pocket card! This is such a fun and unique way to gift those beautiful Gift Card Holders you are creating!
Thanks so much for stopping by!
With Heart,
Disclosure: Compensated affiliate links may be used above at no cost to you. I only show you products from companies that I believe in and purchase from personally. Thank you for supporting me so that I can continue to bring you lots of fun crafting content!


Deborah Turnbull
Absolutely LOVE this!!! Thank you so much for sharing. The advice about the paper you select is so helpful.