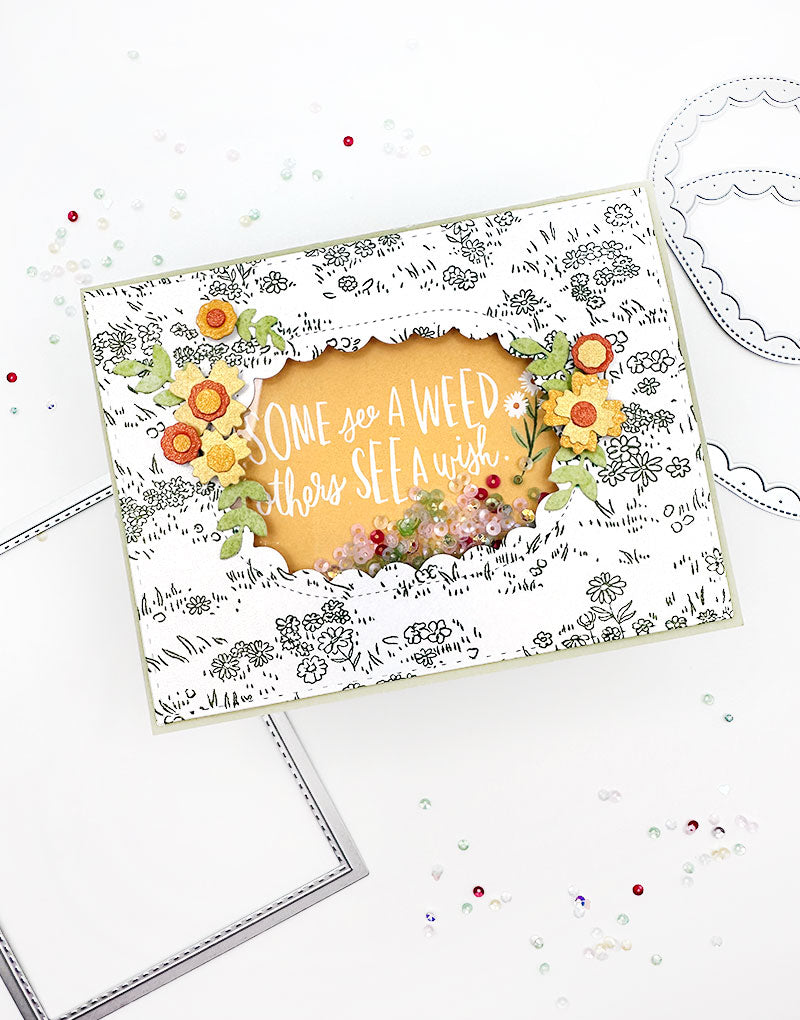
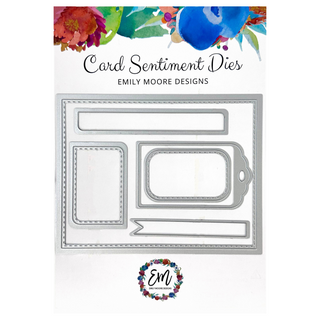
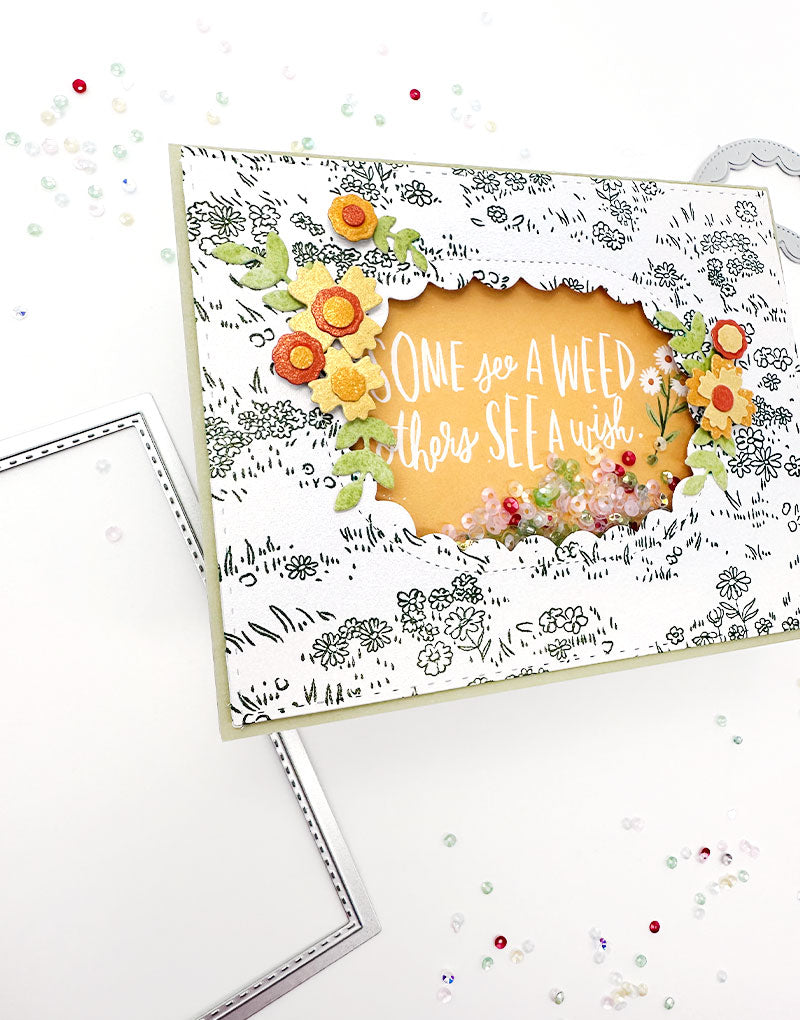
Today I am sharing a fun shaker card I created using multiple different brands, but featuring one of Catherine Pooler's latest dies, the Scalloped Loop Dies. These paired so well with our A2 Liner Die from the Card Sentiments Die pack to create an adorable shaker card! You can find all the details in the full process video below!
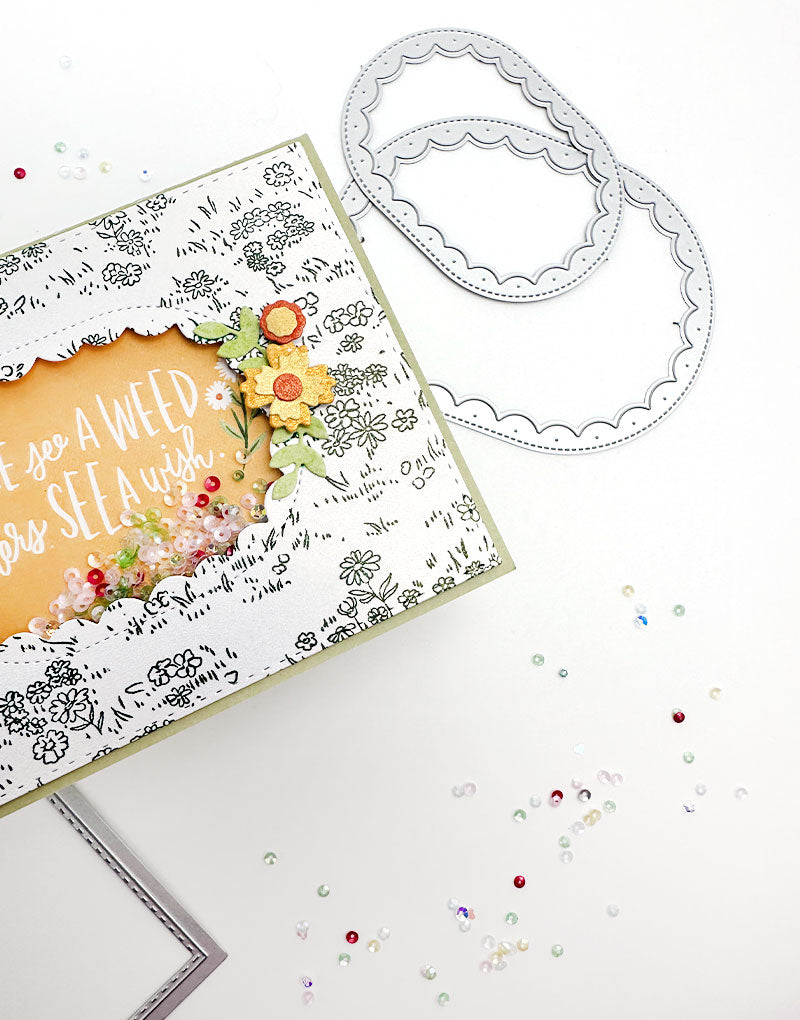
If you know me, you know I love making my own flowers! I was initially inspired by the saying I ended up using on the inside of my card that reads "I must have flowers, always and always." When it turned out not to work for the outside of my card, I pivoted and found this lovely stark yellow saying I knew would fit perfectly and work well with my flower theme. I decided with the new Scalloped Loop Dies from Catherine Pooler, I wanted to make a shaker card. I used the smaller loop die in the pack paired with our A2 Liner Die from the Card Sentiment Dies, and it made the perfect shaker frame!
Before die cutting out anything though, I used my large background stamp from Hero Arts and stamped some white cardstock in Deck the Halls ink to add something more to my shaker frame. This stamp was perfect because it's basically a field of flowers and grass. How pretty is that!? Then, I found the yellow sentiment, which reads "Some see a weed, others see a wish" and I knew that was perfect for the front of my card.
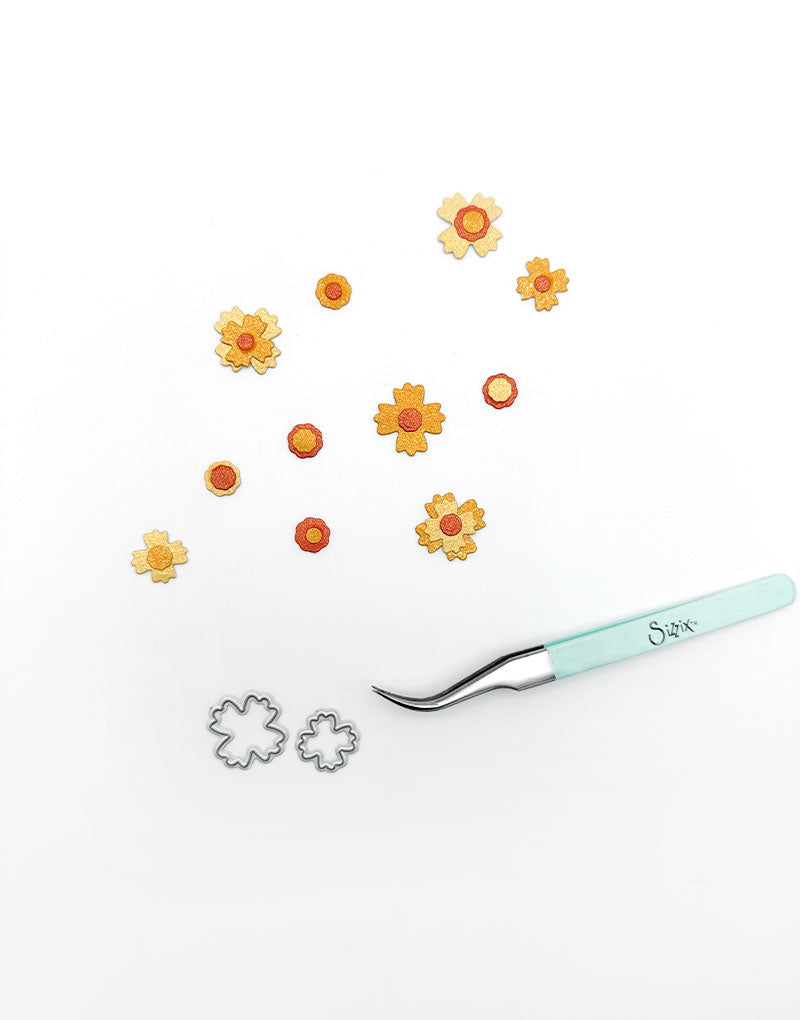
I show how to assemble the entire shaker element in the video, so be sure to watch! This was the part where I actually got my inspiration to make my own flowers! I love doing this technique. If this is something you enjoy also and want to craft along with me, be sure to check out my Beginner's Card Making class, where we create our own flowers in real time together. For these ones, I used the Direct to Paper technique.
From there, I put these on the front of my card surrounding the oval in clusters with some foam squares from Scrapbook Adhesives by 3L. I know the stamped pattern makes it look busy, but I just love the way this turned out! I love patterns & I love flowers, and I felt the flowers tied in with the yellow & green theme I had going on.
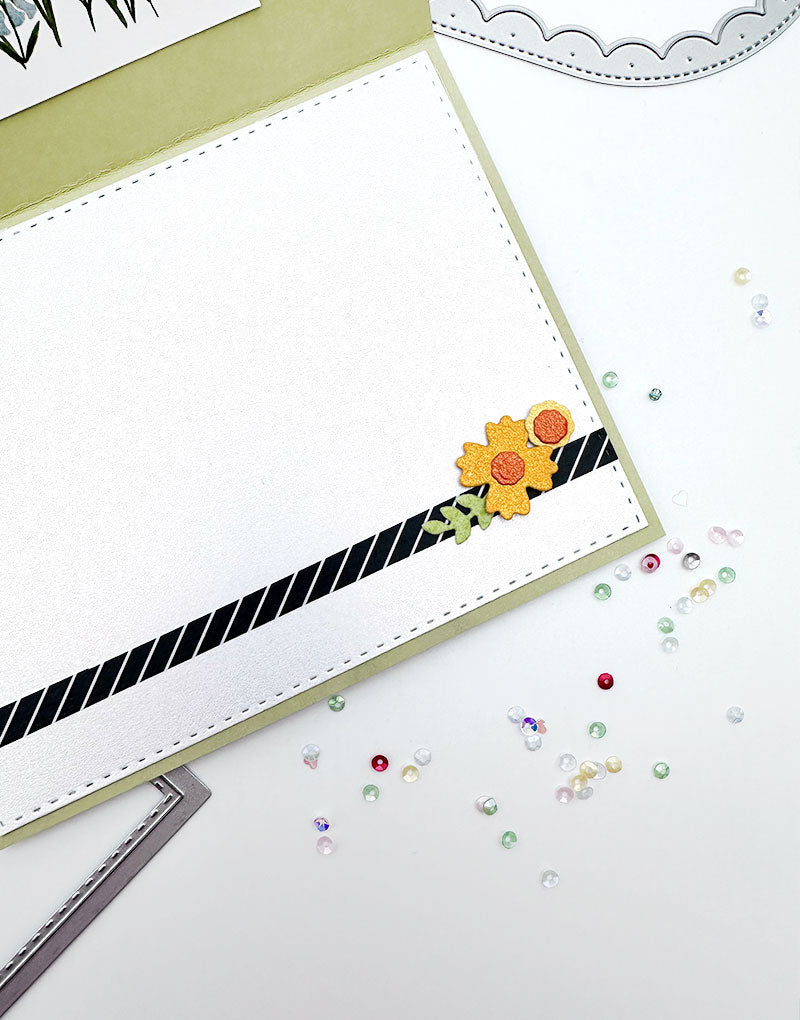
Now for the inside! I decided to use that lovely saying I wanted to use for the outside of my card on the inside, because it matched and just the overall flower theme we had going on. I first put a strip of black & white washi on some white cardstock, then cut it out with the A2 Liner Die (this is one of my favorite things to do). It adds a decorative feel to the inside of the card and it secures the washi into place once it's die cut. I also added some more flowers with the Thin 3D foam squares. I love that these are thinner, perfect for the inside of my card!
The top half of this card was easy, as I was able to just use the sayings that I wanted to use for the front of my card. I added some more flowers and decided to glue on some sequins that I used in my shaker element for the inside to add a touch of sparkle. I love how our olive green paper from the A2 Card Base Paper Pack just really pulls the whole design together. And remember, our paper is A2 sized at 8.5 x 5.5 inches so all I had to do was fold it in half!
I hope you enjoyed this spring inspired card! I really loved making this one! AND if you LOVE this card, it's now available for purchase as well as a few of my other handmade cards!! Enjoy!
Hope you love this!!
With Heart,
Disclosure: Compensated affiliate links may be used above at no cost to you. I only show you products from companies that I believe in and purchase from personally. Thank you for supporting me so that I can continue to bring you lots of fun crafting content!


