Hey crafty friends! I'm very excited to be featuring our lovely Vertical Pocket Die. I meticulously designed this die cut based off a historical home nearby where we live & walk by because I love all the vintage detail (see the photo of the house below!).

I was also inspired by all of YOU! I did a blog post called "The Simplest Pocket Card" & it was a vertical shape like this, but plain of course because you cut the pieces down yourself. I thought: can I make a simple die like this but with some unique decorative feel that everyone will love & use? So this is my take on that! I really hope you do love this as much as I do!
Below you will find a full process video on how to use the Vertical Pocket Die & also a full card I create with this lovely pocket. Keep scrolling to see step-by-step photos!
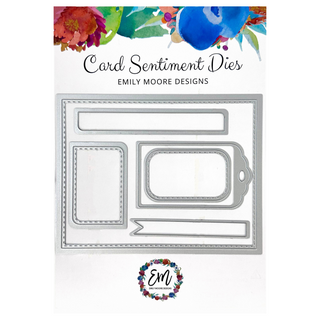
First, the sizing. I created both of our pocket dies to fit perfectly onto our A2 Liner Die from the Card Sentiment Die Set. This way, it's just a bit easier to assemble & put together. Both the Horizontal Pocket Die & the Vertical Pocket Die are designed to fit inside an A2 sized card.
Below you will find a visual of the Vertical Pocket Die with all it's measurements!
As stated above, our pocket dies work to fit our A2 Liner Die perfectly.

Once you have both your background (A2 Liner) & pocket cut out, you can now work on your pocket. Fold the side & bottom flaps back, there are score lines built into the die for you so you will be able to fold with ease & precision!

Apply your adhesive onto the flaps only. Another neat trick that I show in the video is to apply a little tape on top the bottom flap before adhering down. This helps with allowing the gift card holders (or anything else you put inside your pocket) to slide in & out with ease.

Crafty Power Tape works great here because it's a strong tape & you can position it fairly easy since it's double sided. Glue will also work!
To assemble your pocket, carefully start with the bottom flap & line up with the bottom of your A2 Liner. Then just fold up with the flaps facing inward & it should line up perfectly! Now's the fun part. Time to decorate your pocket!

For this one, I used some fun rub-on-transfers & also stamped 2 sentiments from our Just Wanted To Say Stamp Set in the color Glacier. I loved putting the stamps aligned with the pocket "V" shape!
From there, I also created a journaling card to put inside the pocket as well. I framed this with our largest Decorative Die & created a fun border also using the Glacier ink. This technique is so fun I have a full separate blog post on it!

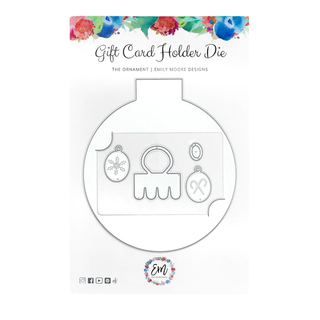
I ended up backing my Decorative Frame with a Gift Card Holder which worked out perfectly! So when you flip it over, there's the gift card!
I really enjoyed decorating this card, I just loved this paper I had in my stash. This was from the line "Wildflower" by Simple Stories. The rub-on-transfers are from Violet Studio & just went really nicely with that floral whimsical look! I even added some Beluga Solar Spray to my pocket to add a little shimmer!

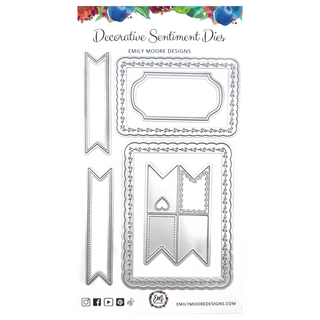
The front of this card was fun as well. I used the same pattern paper that I used for the backing of my pocket card so it all went together perfectly. I then created a large "Hi" using our Large Style Hi, hey, hello Word Die Set. Instead of the traditional dot on the "i" - I used some white hearts I had leftover from our chunky banner set in the Decorative Sentiment Die! It worked out perfectly & looks great!
I added some adorable gift tags using our Gift Tag Die in the Card Sentiment Die Set with the Doily Oval cut out & added a little bakers twine. I just love how it turned out!
Our Vertical & Horizontal Pocket Dies aren't just for cardmaking! Check out how Natalie used our Vertical Pocket Die in a travel journal & how Sara used our Horizontal Pocket Die in her ancestry album!
What would you use these pocket dies for?? Hope you love this one!
Lots of Love, Em


