Hello there crafty doer! My name is Jessica and I am a mixed media paper crafter. I’m going to show you how Emily Moore’s Card Makers Essentials Bundle is also made for the mixed media paper crafter. After rolling the dies through my machine only once, I was hooked! I drew tons of inspiration from the beautiful paper in the paper pad and had loads of fun playing with the stamps. Here’s how it went:
I love the ease and simplicity behind Emily’s bundle so, naturally I mixed things up a bit (because that’s just what my brain does). The paper pack includes plain A2 cardstock in addition to the pretty pattern cardstock. I love this because it gives me more time for the-mixing-of-the-mediums and less time cutting my bases, figuring out my panels and putting them together (blah, blah, boring). And that’s exactly what I did to begin creating this trio of cards.
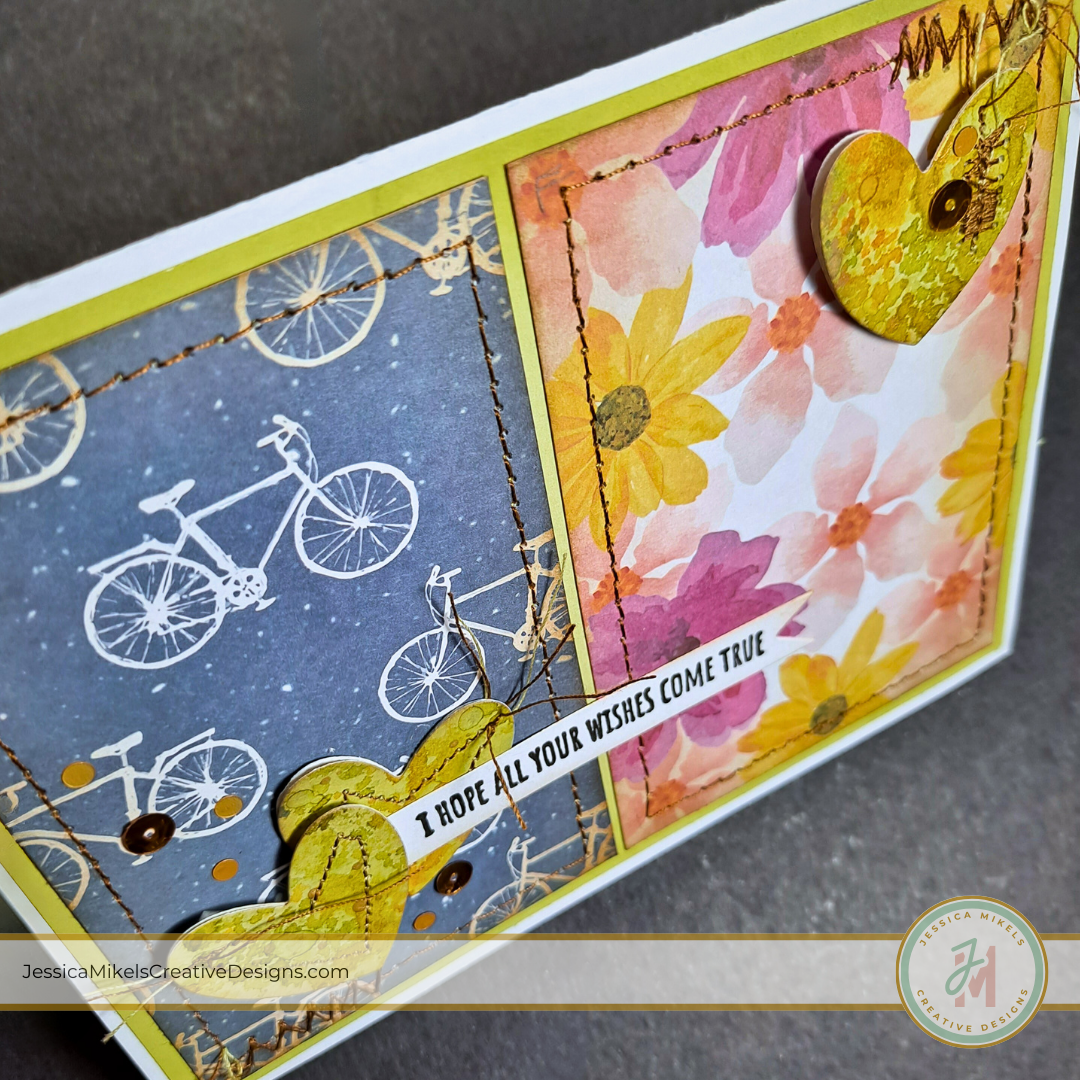
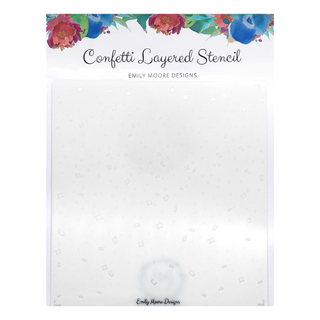
The plain olive-colored cardstock caught my eye because green is my favorite color. I spray stained it in a few different colors including some diluted stencil butter for shimmer. I use this background to die cut hearts out of and save the negative to use later. I repeat this same process on another olive-colored cardstock to use as the panel of the gift card holder! Eeek! I love the Gift Card Holder Die! Ok, I’m getting ahead of myself.

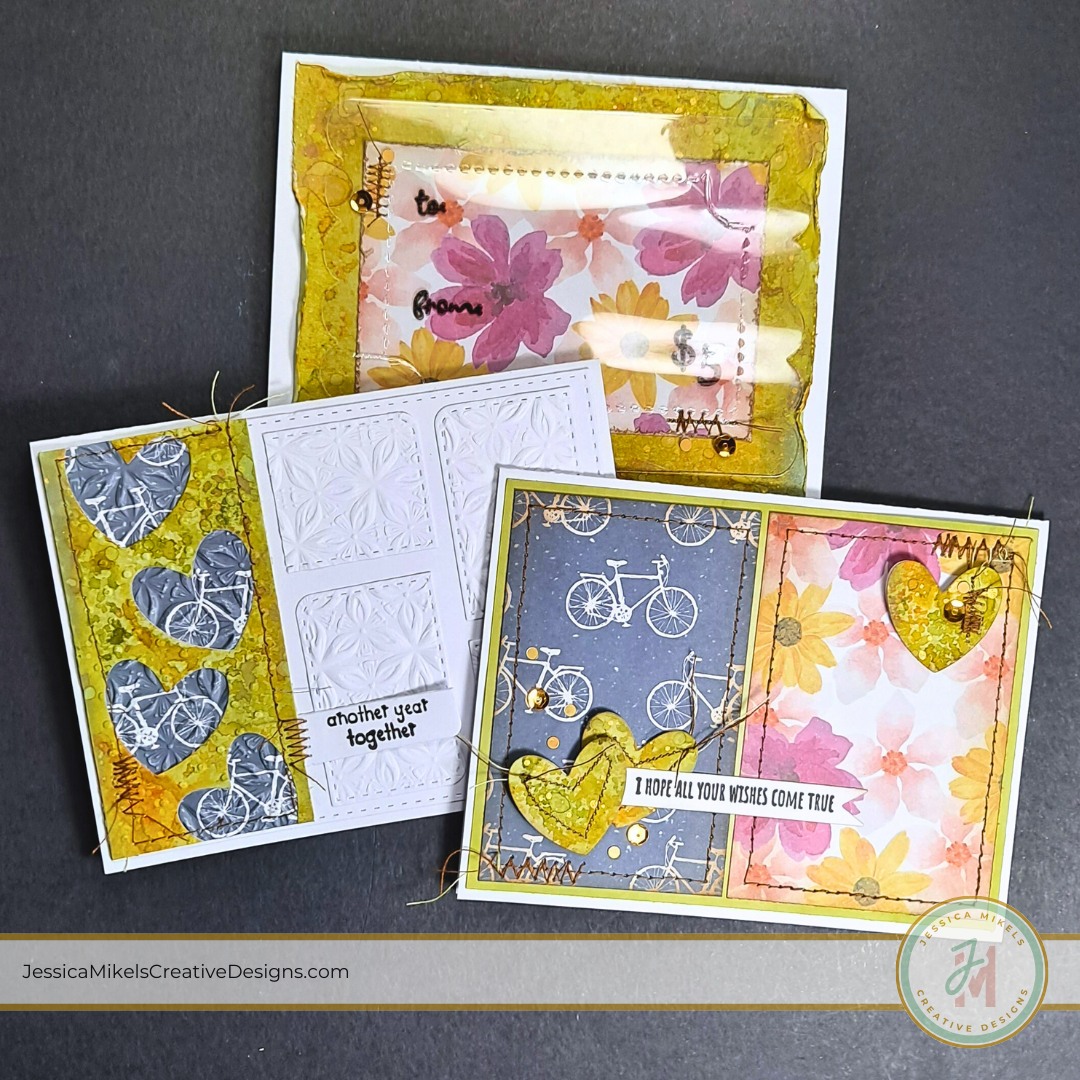
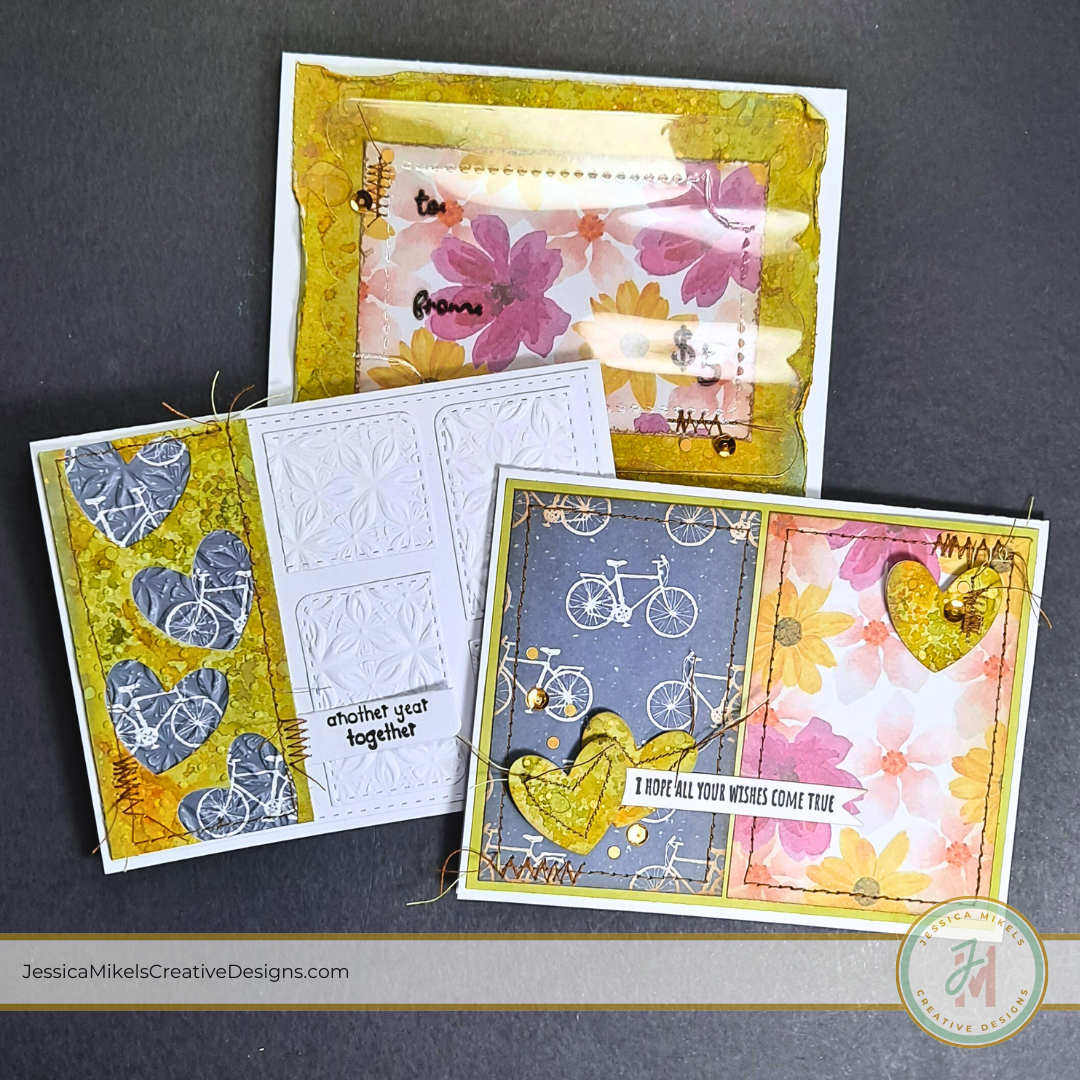
Back to the first card. I ink blended the edges of the olive-colored cardstock for depth. I cut two rectangles from the bicycle patten cardstock and the pink floral print cardstock to add to the ink blended panel. Emily made sure to design the pattern both vertically and horizontally to fit the needs of your project. She didn’t stop with the details there! I was inspired by the stitching on all the die cuts which she added on the packaging as well! What an absolute lovely little detail.
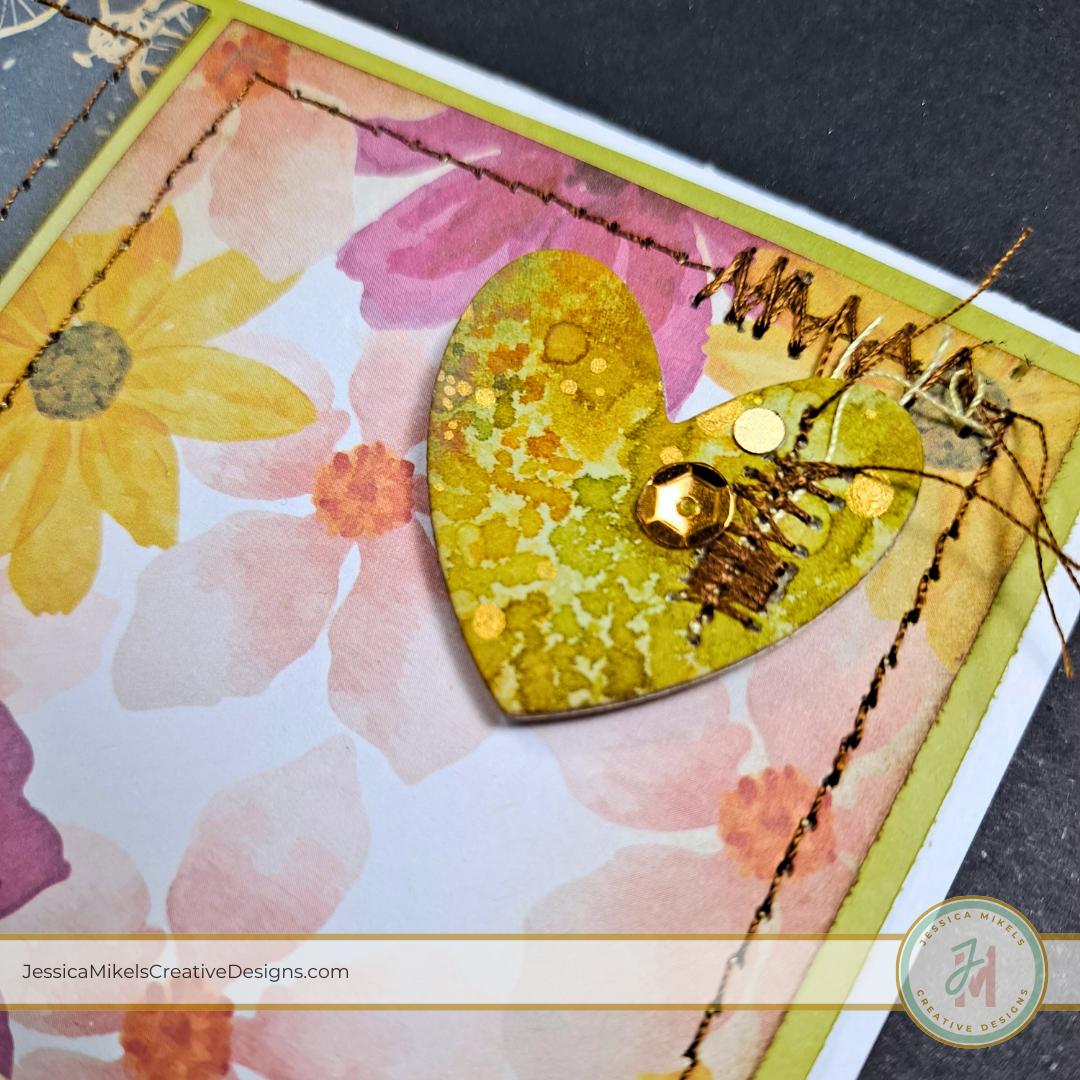
The pattern paper panels got a Walnut Stain ink blend around their edges before going right through my sewing machine for a stitched edge. The hearts got the same treatment. Although the Birthday Sentiments Stamp Set is for, well, birthdays, there’s a few that can be used beyond that! I used, “I hope all your wishes come true” with the ribbon sentiment die and I think it works for any type of celebration card!
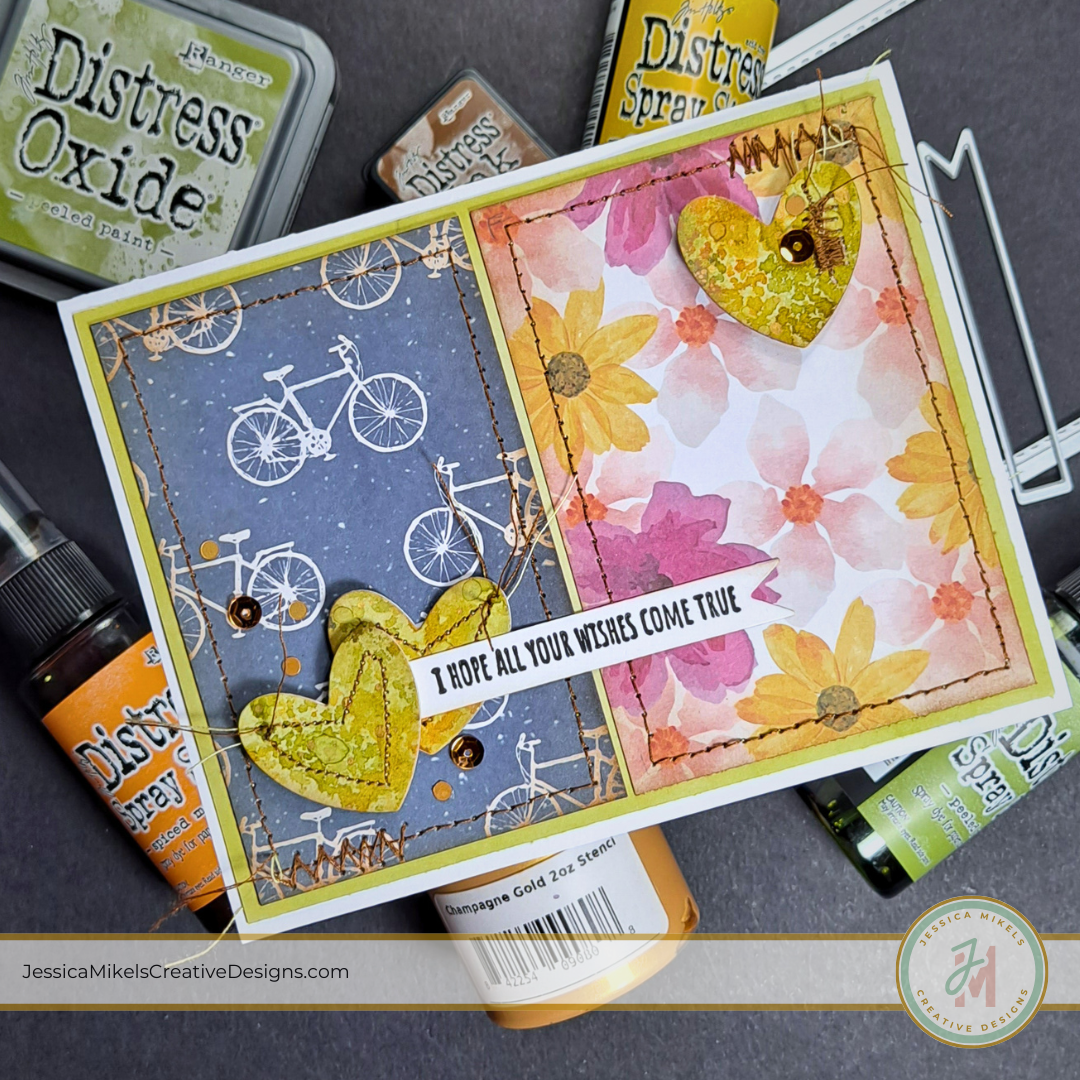
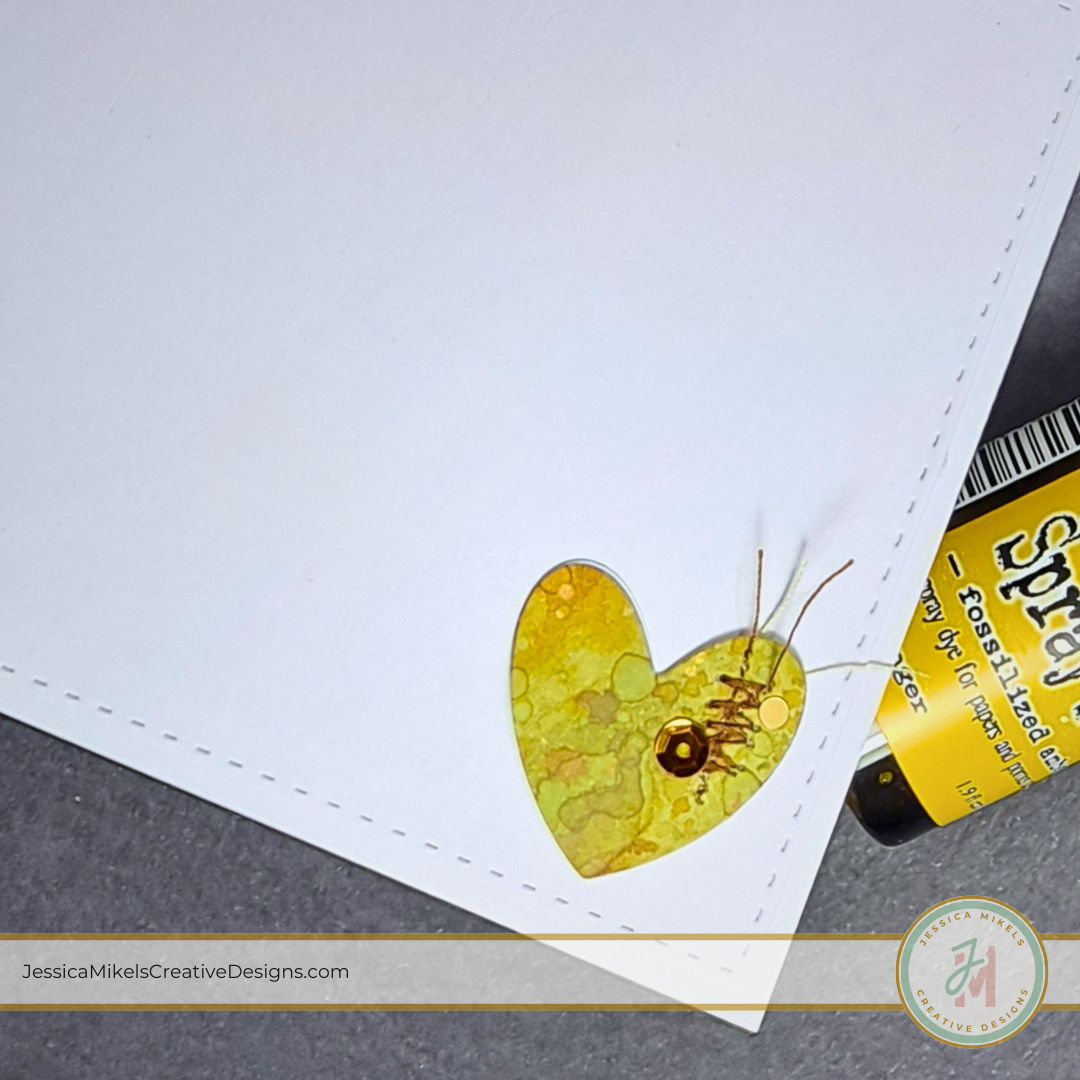
Putting it all together was a cinch. I added sequins from my stash and adhered the hearts with foam tape. I couldn’t call the card complete there. Emily always goes the extra mile and decorates the inside of her cards, so I just had to do the same. I used the A2 liner die for the inside of all the cards. I added a little detail on the bottom corners using scraps but this was totally unnecessary. The liner die alone is sufficient for a clean and complete look. The A2 liner die is now essential in my craft room! It will remain within arm’s reach! It is ideal for completing the inside of my cards!
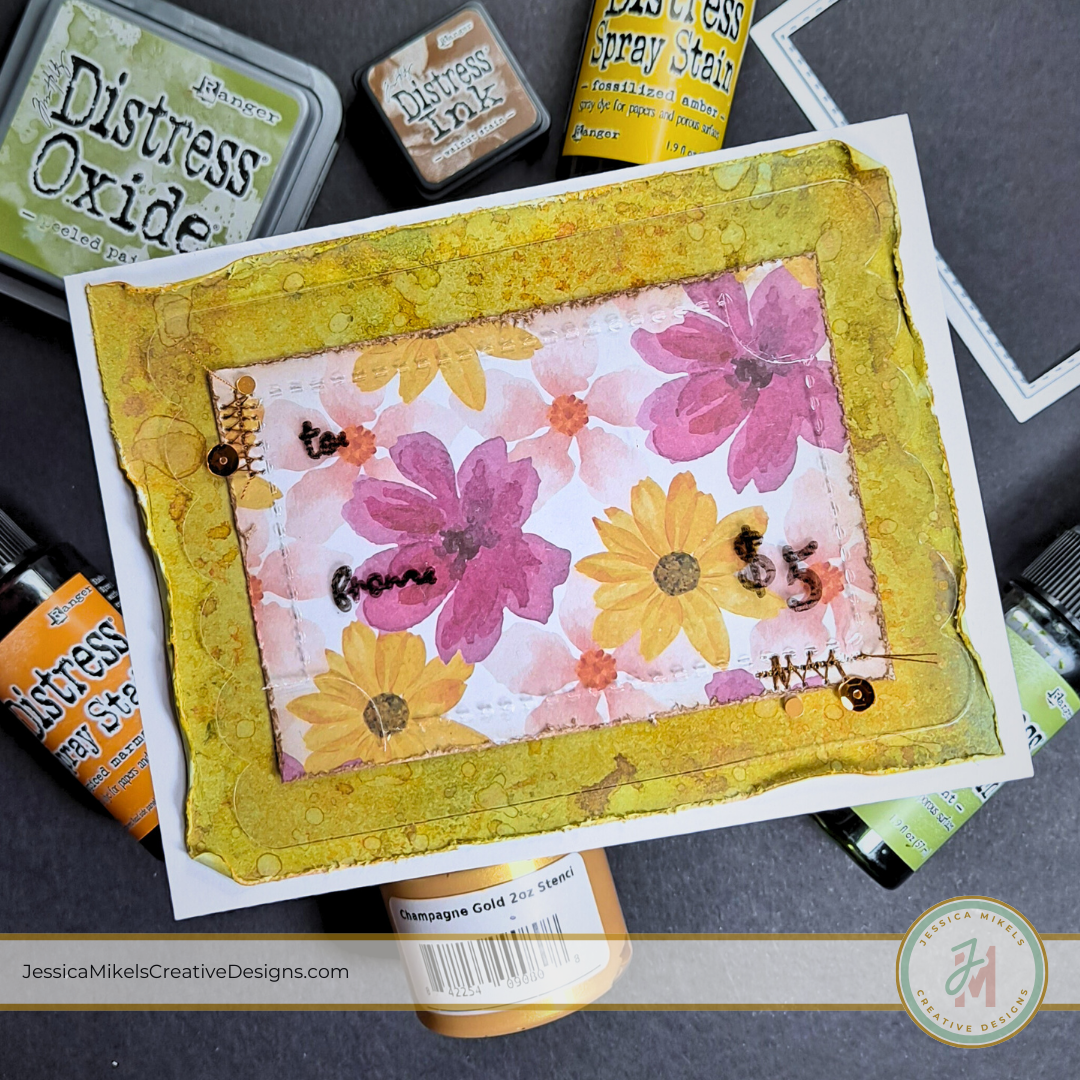
I put the second card together in a jiffy. I grabbed the spray-stained panel from earlier and distressed the edges. I curled up parts around the edges as well as some of the corners. I knew I wanted to use the Gift Card Holder Die for this card, but I also didn’t want to cover up the beautiful background I created. If only I could see through the die cut… BINGO! I stamped the inside of a laminate sheet with the Numbers & Gifting Stamp Set before running it through my laminating machine. I rolled it through my die cut machine and it cut perfectly!
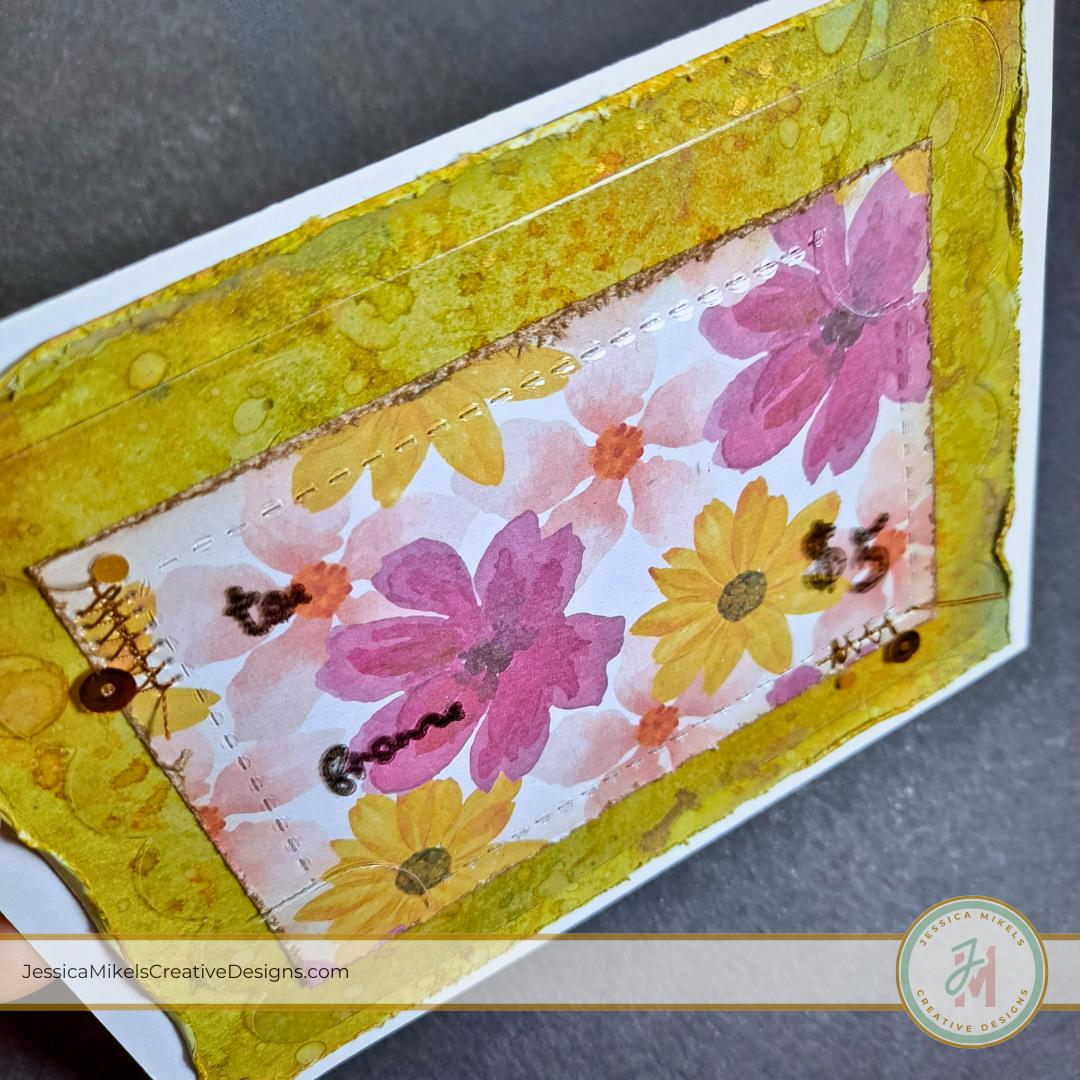
If you’re wondering why the heck I used a laminate sheet as opposed to an acetate sheet, it’s because that’s what I had in my stash and I am a firm believer of bashing your stash in innovative ways *insert wink here. To attach the Gift Card Holder to a panel of pink floral pattern paper, I stitched it with my sewing machine to avoid adhesives. Then, I adhered it to the mixed media panel.
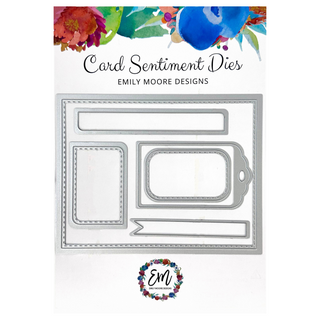
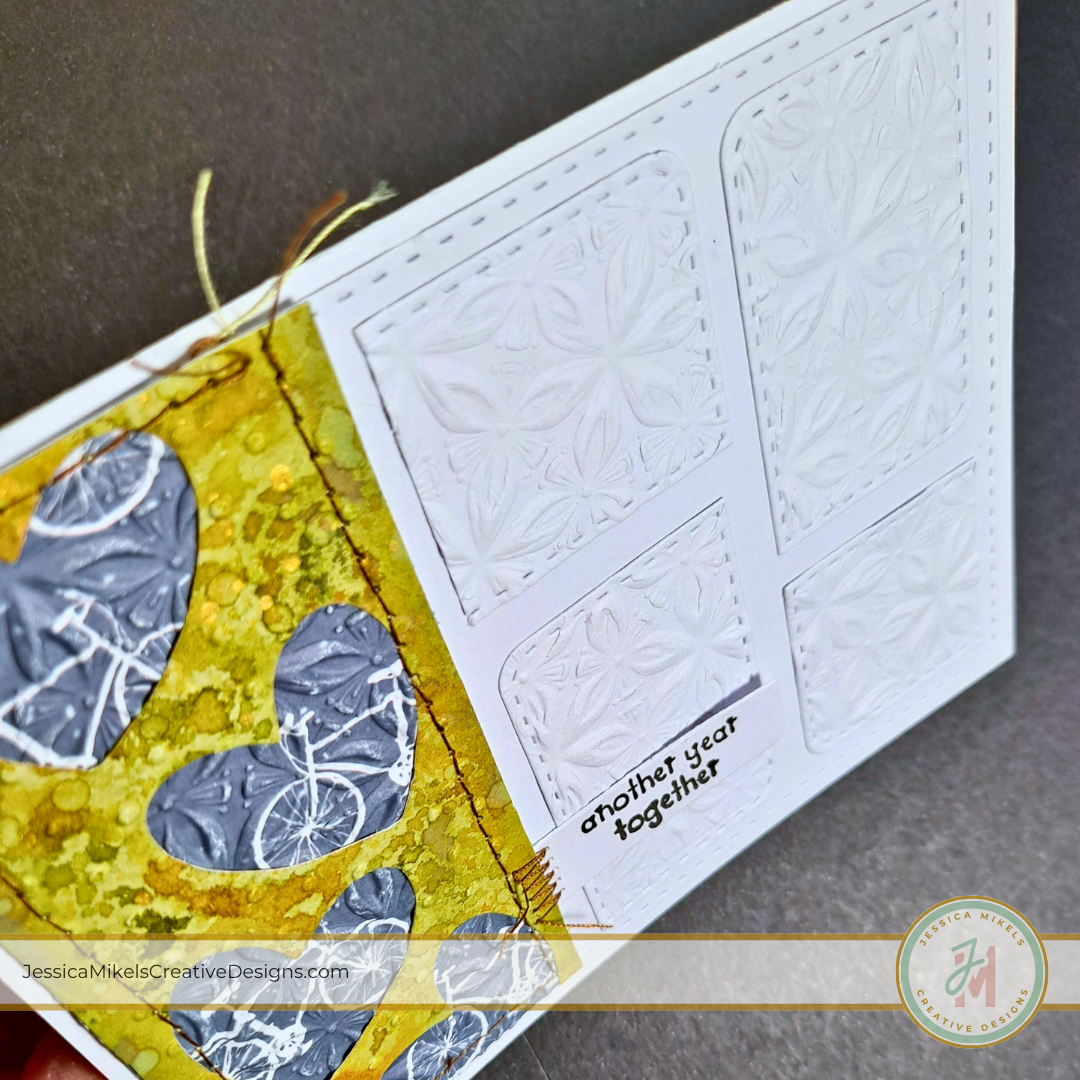
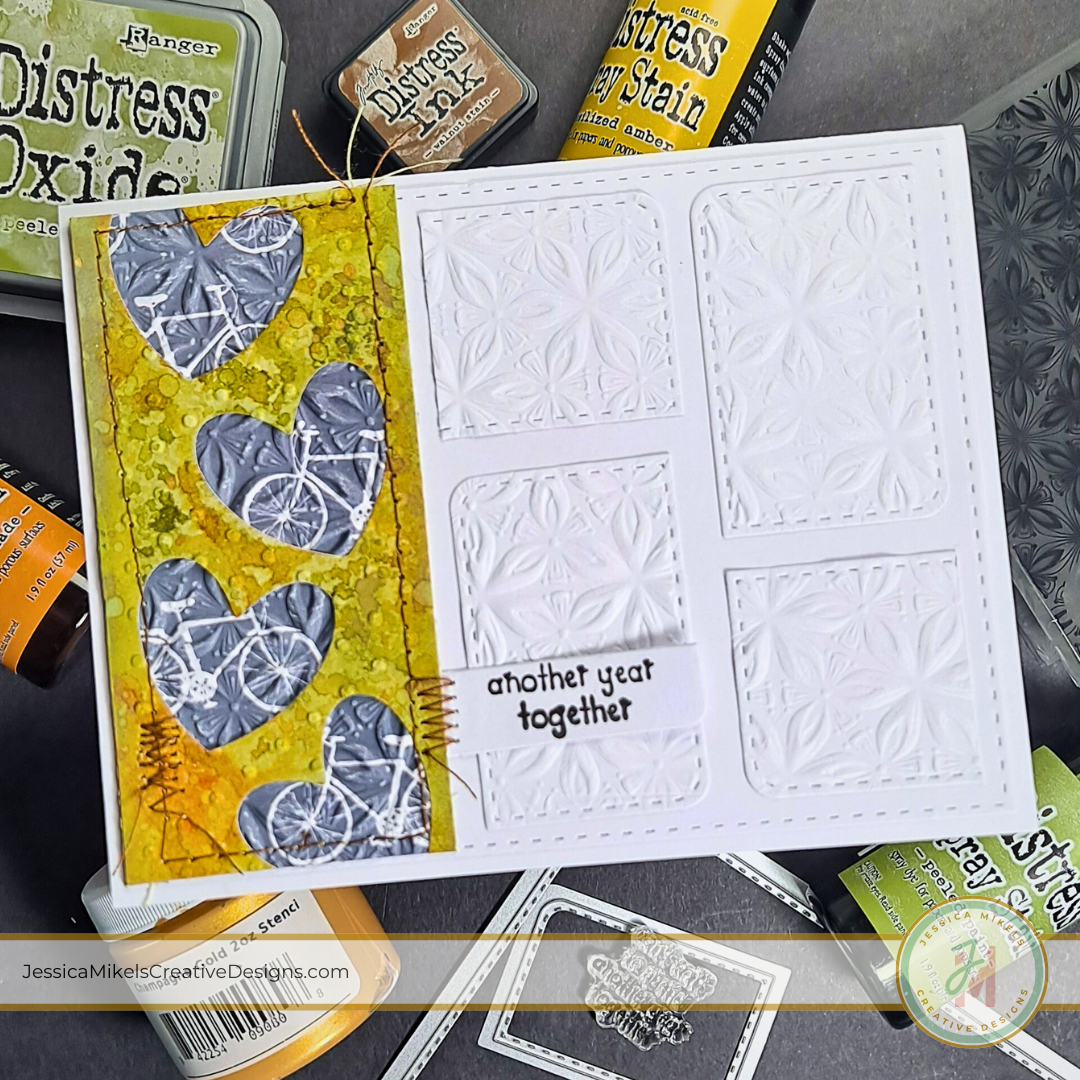
The third and final card was so fun to make! I used a couple of embossing folders on the bicycle pattern cardstock as well as on the white cardstock. I die cut a few pieces from the white cardstock using the Card Sentiment Dies. Doesn’t this create a cozy-quilt look to the paper? I used the negative of the mixed media background from earlier, as a partial panel and added stitching around it with my sewing machine. I inked only part of the, “Can’t wait to spend another year together” stamp for the sentiment. I used one of the sentiment dies to cut it out and trimmed it to size. I attached it with a little zig zag stitching so that it looked like a tag you would see on a blanket.
The process of putting the foundation of the cards together with this bundle was truly so easy. I easily made three cards in no time but most importantly for me as a mixed media paper crafter, I had more time to play with mediums than figuring out the base of my cards. I appreciate the versatility of all the stamp sets and dies. The design of the paper is also versatile because you get bold prints along softer floral images. This was perfect for my mixed media card making.
Don’t forget, just because the title says it’s a “Sentiment Die” doesn’t mean you need to strictly use it just for that. Need I remind you of the cozy-quilted card?! What is also worth mentioning again is the A2 Liner Die Cut. This is probably my favorite piece in this bundle. Nope! It is totally my favorite piece in the bundle!
I hope I was able to inspire you for your next crafty doing. Emily has definitely created a gem with these dies, stamps and base paper pack! You can watch the full process video of these cards on my YouTube channel. Find more inspiration in other projects I created using more of the Card Makers Essentials Bundle on YouTube and my blog!


