In this fun blog post, I wanted to share the many different techniques, styles & ways you can use our NEW yay! Layered Word Die! This blog post will contain short videos & pictures with links to other blogs I have done, so if there is a specific technique you love & want to see more of, be sure to click on the picture shown below!
First, I designed our yay die with thought in mind, including that largest outside layered die. The largest of the 3 dies is a border that has stitching not just on the inside detail of the die cut, but also along the outside. This gives us the ability to use our dies for more than just the cut out, but also the "scrap" pieces left behind!
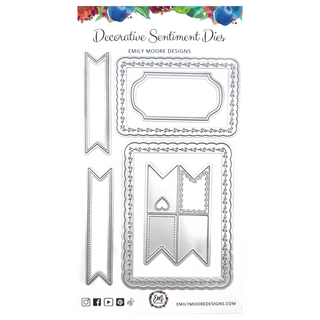
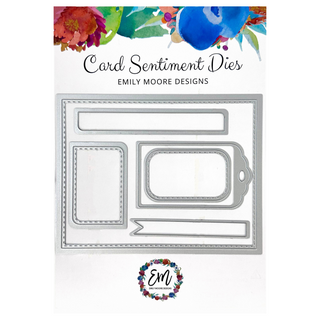
The outside layer of our yay! Layered Word Die makes it possible to create adorable shaker cards with some stitched detailing. Pair this with the A2 Liner Die in our Card Sentiments Die set, and you have a fun & sleek look!
I like putting the actual word "yay!" on the acetate (on the outside) so you can see the word nice & clear. Then nothing gets in the way of the sequins you add!
Check out how Natalie did a fun take of a shaker below, where she cut out the center of her card completely to not only utilize that large piece as a shaker, but also as a window! That brings me to our next card design, keep scrolling!


2. Window or Peep Hole Card
Peep hole cards are SO fun. They are also extremely simple! This is also where our larger die cut negative piece comes into place. You get that detailed stitching on your card so it looks more intentional. This type of card uses all 3 of our yay layers in this card, which I love!
3. Regular Layering
Speaking of using all 3 layers, regular layering of our yay! die is perfect to add onto any celebratory card. See the card below where I simple put the 3 layers on top itself, then added a nice sentiment from our Graduation & Retirement Stamp Set!
I then used the negative of that piece as a background for a more dimensional yay card.
4. Scattered yay! background
Using just 2 layers of the word die, and creating a color scheme you like, making a yay! card with a scattered yay! background is a TON of fun! I also utilized our A2 Liner Die here, and trimming off the edges of each overlapping yay really added to the effect of this super fun card.
5. Inverse yay!
Using the negative of just the yay! word die cut out is another fun way to add a little something else to your card! You can use a patterned paper here against a white background, as shown below to create a fun effect.
6. Add Foil
Adding foil onto your card & your yay! is sure to add some shine! Using some Adhesive sheets, you can cut out your yay! and then apply the foil afterwards, creating a super fun & bright look.
7. Pocket card or Z card Accessory
Have you seen my latest blog post about how to make a z fold card? I recently made a fun short video sharing how to make a vertical z fold card, and I used our yay! die as a fun cover instead of a decorative strip, I really love how that one turned out!
& here is the Simplest Pocket Card everyone loves so much, with the yay! Added onto the front of the pocket as a nice decorative touch.
8. Stacking
Stacking the yay's is more of a technique, but it's something I wanted to share because it definitely packs more of a punch when using our yay! Layered Word Die! I love using Adhesive Sheets for this technique so you don't have to worry about glue & getting too messy. Essentially, you would cut out 3 yay's! (just the word cut out) & stack on top of each other. This is something that makes your yay look more somewhat like a sticker!
It adds dimension & makes it pop even more. Check out how Sara used this technique in her scrapbook layout below!
9. Gift Card Cover
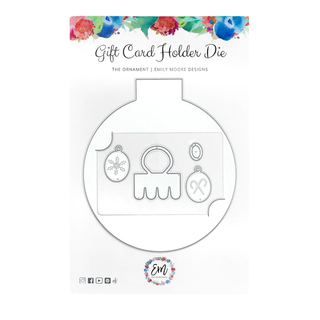
This is a fun little technique I just created a short video for I wanted you to see. Using the yay, you could put it as a cover on top of your gift card holder to hide the gift card a little more. I used a brad here so you can twist it, but you could just do a fold on one corner to simply lift the yay!
10. Confetti!
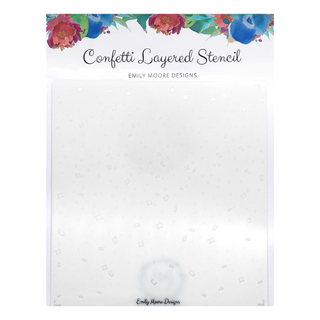
Using our yay! Layered Word Die with our Confetti Layered Stencil truly takes it to the next level! I really had this in mind when designing this word die, and I hope you all love it and use it all together.
Our yay word die is so much fun to use, I hope this blog post gives you even more inspiration to create with it! There are also a ton more ways you can use it, let me know if you can think of any more in the comments below!
Lot's of love!


Beth Yuhas
You have the best card ideas!! TY