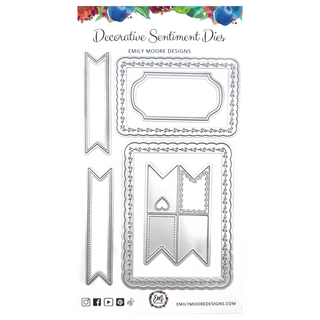
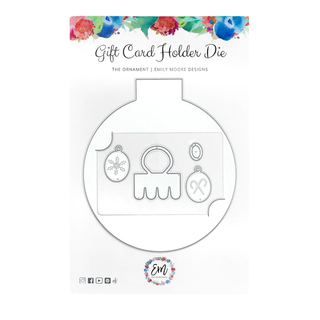
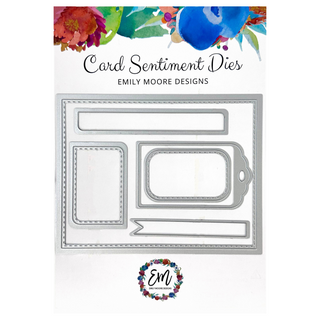
Hey crafters! I'm very excited to be sharing some NEW products today with a highlight on our Horizontal Pocket Die. I've designed TWO pocket dies for you that coordinate perfectly with our Gift Card Holder Die that I know you're going to love.
In the future, if you want early accessing to ordering straight from us, you can sign up for our Creative Hearts Club Membership - where we share our cards & have such a supportive & creative community! I also do monthly card sketches & card sketch videos that are exclusive the the membership (oh & did I mention FREE shipping on ALL orders?!).
Back to the new goodies! Below I have a full process video sharing how to create a simple pocket card featuring the Horizontal Pocket Die, our A2 Liner Die from the Card Sentiment Die Set & some brand new word dies - for you. Follow along with me in the video or keep scrolling to see step by step instructions!
The Horizontal Pocket Die is a one cut pocket featuring an adorable decorative scalloped edging at the top & built in flaps with score lines so you can assemble your pocket with ease. Below you can view the sizing. I made sure the flaps are about 1/2 an inch width for ease to use with tape runners or double sided tape, and plenty of space on the front (not just to cover the gift card entirely) so you can decorate your pocket with word dies, stencils & more!
You can use this die to cut out plain white pocket, colored cardstock or even patterned paper! I like to choose a pattern paper that's a little more subtle so you can still see the lovely design at the top & the continuous embossed dot pattern.
Here's a more up close look at the lovely details (my favorite part!):
 As I said earlier, the spacing is nice and wide in the front so you can decorate your pocket with word dies, stenciling & more. You can see the two photos below featuring our Brand New Word Die Set "for you". It comes with two sizes & shadow frames (even though I don't show them in these photos). The large "for you" I made sure would fit the Horizontal Pocket perfectly, while the smaller "for you" fits our Vertical Pocket Die nicely, but you can mix & match!
Large "for you" Word Dies (without shadow die):
Small "for you" word dies (without shadow dies):
Now let's talk about those flaps! I wanted to make sure that assembling the pocket was as easy as possible for you. There are 3 flaps, 2 on each side & one on the bottom. All you have to do is follow the score line & fold the flap back, behind the front of your pocket.
The heavier the cardstock you choose, the sturdier and more secure your fold will be—just give it a firm crease for best results!

From here, you will apply your tape or glue (whichever you prefer!). I like using Crafty Power Tape on my pocket flaps, as it's a lot stronger of an adhesive & I can be sure that it will remain secure! Plus it's the perfect width for the flaps. The tape runners also fit the width, but are a little harder to control.

I also created the pocket dies in mind to be the exact width of our A2 Liner Die in our Card Sentiment Set - so when applying it to your background, it makes it a little bit simpler. Just line up one corner as straight as possible, and press down the rest with ease!


You don't have to just use word dies to decorate the front of your pocket. You could even do a simple sentiment!

Here is my finished card that I completed in the video above. Notice how the large Decorative Frame from the Decorative Die Set also fits in the pocket, so you can still add a nice handwritten note if you prefer. I did this because I decided to make this card a flat card, just meaning it doesn't open - but there is a back!


I used 49 and Market's Flower Emporium collection to decorate the front & back of this beautiful card - including the paper I used! Here is the back of the card using our NEW stamp set "Just Wanted To Say" - perfect for the inside & outside of your cards!

Here's the large "for you" word die with it's shadow frame on the front of a Horizontal Pocket!

What do you think about this more grungy one below? Here I used the small for you word die with no shadow frame.

I love the darker feel of this card!


& here is the back of this card (also flat!):
I used all the happy things Stamp Set here with some black ink & it turned out so nice! (in my un-biased opinion).
Here's another fun way to use the Horizontal Pocket Die decoratively & NOT as a pocket!
This one I just used some different colored cardstock & cut out using the Horizontal Pocket Die to cut out all 3 colors. I then trimmed off the flaps & stacked it to make this super pretty ombre effect.
I hope you guys love our new Horizontal Pocket Die! I can't wait to share even more with you!
xoxo Em.


Barbara Lancaster
I really like the card holder. Adorable.