Hi crafty people! I am so excited to share such a fun & EASY card make for you today to take your gift giving to the next level! Today, I am sharing how I made a simple pocket card, no die cutting (& hardly any cutting!) required! You can check out my full process video on this card make below:
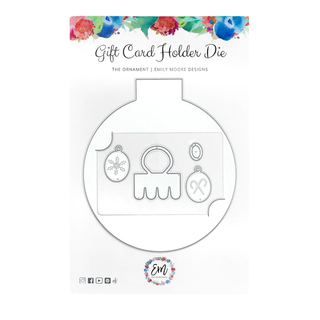
I decided to start out with an A7 card. Can you believe I've never made an A7 sized card? Ha! I sometimes get stuck in my ways, I love and adore A2 sized cards, but I wanted to try this size, especially because I wanted a large pocket for my Gift Card Holder to go inside of! I can see why people like the A7 card, it's a big one. The total measure of the card base is 7x10 inches, scoring at 5 inches to fold in half. This gives a lot of space to be able to decorate as much as you'd like.
For this card, I used the Christmas Spectacular Line from 49 and Market, but you can use whatever holiday paper you have at home! I typically enjoy more bold, non-traditional colors for Christmas, but this line felt so nostalgic, I knew I had to create with it. The nice thing about the 12 x 12 paper packs from 49 and Market, is that their cover sheet always has some cut-aparts on the back. I used a lot of these in this card, specifically, the giant green envelope was perfect for my pocket!
I actually felt like I cheated a little, because this pocket is SO simple! I do have another version of a pocket card I created, where I actually made the pocket, which you can check out HERE!
I had a lot of fun decorating the front of the pocket. I used the post mail ephemera that I cut out, and then used a blade to cut out a hole, and stuff a little saying in the "mailbox" that says "Peace on Earth".
In order to make the pocket, I used the envelope ephemera, and some 1/8 inch tape. Making pockets is actually simpler than it may seem, you just have to tape the bottom and sides, leaving the top portion open so you can slip something inside! This sizing fit perfectly for my completed Gift Card Holder I created!
I also did the inside of the card, featuring the black plaid paper in the 12x12 collection pack as the background. I loved this darker color, but knew it needed some lightening up. I added some more of the cut out ephemera pieces and a Chipboard Word that reads "Joyful".
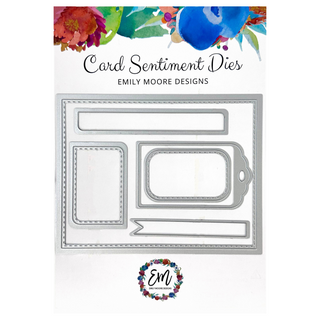
For the bottom half of my card, I used the A2 Liner from the Card Sentiments Die pack in order to create some space for writing sentiments. I used some rub on transfers on my cut out to create more of a decorative feel. I added some more chipboard small word sayings and stars all around the inside of my card.
This was so fun to make! And easy as well! I made a second pocket card here, in less traditional colors, what do you think?! Which one do you prefer??
Thanks for stopping by!
With Heart,
Disclosure: Compensated affiliate links may be used above at no cost to you. I only show you products from companies that I believe in and purchase from personally. Thank you for supporting me so that I can continue to bring you lots of fun crafting content!


