Hi crafty friends! Today I am sharing how to make another fun card with our Decorative Sentiment Dies! This is a really simple fun fold panel card, also featuring some lovely patterned paper from Catherine Pooler (coming back in stock soon)! You can find a full tutorial video below, or if you'd prefer step-by-step photos & instructions, keep scrolling!
First, you'll start with a Vertical A2 card base. This is 11 x 4.25 in total, folding the 11 inch side in half at 5.5. Now, score & trim your front panel at 2 & 3/4. You can discard the excess paper (or save it for later!).

Now, when you fold the top over, it will look like half of the card base was cut off (because it was!). But don't worry - one of our panels will cover it up.

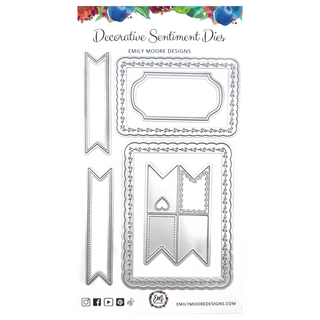
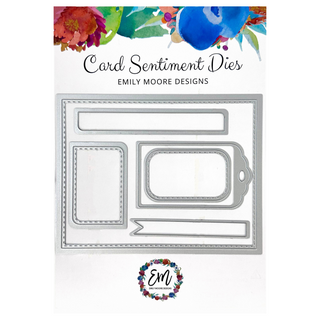
For this type of card, I liked to pre-cut out all of my panels. For this card, you will need one A2 Liner Die, two larger decorative frames, one in a fun pattern & one in plain white to layer onto the A2 Liner Die, and two smaller decorative frames to go on the smaller flap we created. You can get both our Card Sentiment Dies & Decorative Sentiment Dies in a bundle HERE. They truly work amazingly together!
If you are using paper that isn't double sided like I am, you can cut out a second larger decorative frame and tape them onto each other. It makes it a bit thicker, but I think it's worth the look. Alternatively, a nice double sided patterned paper would also work fantastic here!
Now, take the white larger decorative frame we cut out, and stamp a sentiment at the very top. This allows us to still leave room for some writing at the bottom! Here, I used a newer stamp set (coming soon to the shop!) & a fun technique with some Catherine Pooler inks! I stamped half in Orange Peel, then the center in Catching Rays, and the final half in Sparkling Berry. This creates a super beautiful ombre/rainbow effect.
Time to tape your decorative frame onto your A2 Liner cut out!
Next, the decorated & stamped frame goes on the inside of your card. Then you will add one of the smaller decorative frames on that side flap.
Add the second decorative frame onto the outside side flap! It turns out 2 & 3/4 is a perfect size frame for our smaller decorative frames in the Decorative Sentiment Die set :)
Now all that's left is the front panel. Score the panel at 1/2 an inch. Now, fold that piece over.

Apply a strip of Crafty Power Tape here. Crafty Power Tape is a lot stronger than regular adhesive, which is why I love it so much for projects like this!
 Carefully peel the backing off your adhesive & place down onto your card, lining it up perfectly with the white decorative frame.


Now your card is assembled!
 Feels like it needs.....a word die?


 I hope you loved this one! Let me know in the comments, do you like the blue & green card or the pink & orange one better?


Love you lots,


Julie Forest
Just found you on FB and placed my first order….can’t wait to get my products and make beautiful cards!!
Laurie Ward
Love all your designs. Both are adorable but I am partial to the pink and orange.
Denise
Love the hello lettering. Is that a dir cut? Do you sell that?
Rhonda Kohout
Really LOVE your card layout ideas!!! I made one for a friend and it turned out really pretty! Thank you for sharing your ideas and giving all the instructions!
Also, LOVE ❤️ YOUR DIES!!!! Simply beautiful!