Happy Thanksgiving fellow crafters! I hope you are with your friends and families today enjoying a wonderful feast of fabulous food. I wanted to share one last fall themed/thanksgiving card for you all. This card features some beautiful Catherine Pooler products and has a unique circle design that will surely catch anyone's eye! Watch the full process video below to see how this fun card came together.
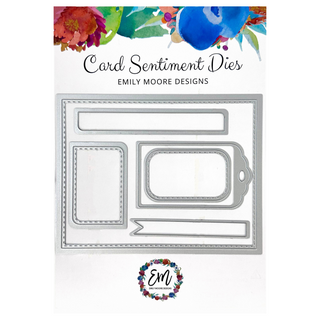
First, I started with a card base. I cut out some white shimmer cardstock with my Card Sentiment Dies, the A2 liner die. From there, I grabbed my Catherine Pooler Circle Dies & cut out 3 different circle sides from the base of my paper. From the Painted Butterflies 6x6 patterned paper, I used 3 different patterns and cut out circles to go behind my cardstock.
I love the cool effect this adds! I grabbed the Joyful Thanks Sentiment Stamps and used some Gingerbread Ink to stamp my text onto some more of that white shimmer cardstock. I then used the coordinating dies to cut out the sentiment. While I still had my Big Shot out, I decided to cut out some ribbons of the different colored patterned paper. I knew I wanted to also incorporate these onto the front of my card.
I glued my ribbons down deciding on a vertical look in the top right hand corner, and grabbed some Baker's Twine I have that incorporates a light brown color that worked perfectly with the theme of this card. I wrapped the twine around the base of my card near the top/center, then tied a bow. I secured this down with some glue. From there, I knew I wanted a little pop of color, so I grabbed Deck The Halls ink and a wet paint brush to add some splatter to the front of my card! I kept the sentiment to the side so that would be a nice, clean look.
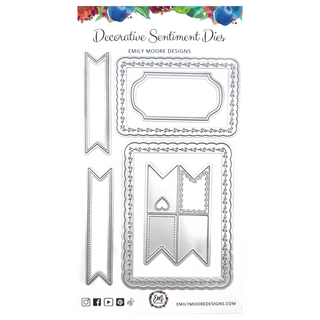
I then decided to work on the inside of my card. I used some Shea Butter Ink to create a yellow border and cut that out with the A2 Liner Die in the Card Sentiments Die set. I then grabbed two of the pattern papers I used on the outside of my card and used Catherine Poolers Dots & Scallops Dies to create 2 more decorative borders for the inside of my card.
I stamped another sentiment from the Joyful Thanks Sentiment Stamp pack, a smaller one that reads "you're a blessing" in Gingerbread Ink and also die cut this out using the coordinating die. I then glued that onto my patterned paper, and put that sentiment on with some Cherry Dots. I also cut out another A2 Liner for the inside right side of my card, so someone could write their sentiments there.
Now time to finish the front of my card! I grabbed some Cherry Foam Tape, and put that on the backing of my card cover. I adhered this onto my olive green card base from the A2 Paper Pack. And the final touch was some lovely blue & gold sequins! This is a great card to bring to someone's house who is hosting the Thanksgiving dinner, don't you think??
Thanks so much for stopping by! Hope you love this design and I hope you have a wonderful holiday,
With Heart,
Disclosure: Compensated affiliate links may be used above at no cost to you. I only show you products from companies that I believe in and purchase from personally. Thank you for supporting me so that I can continue to bring you lots of fun crafting content!


