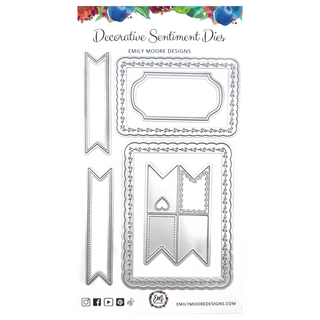
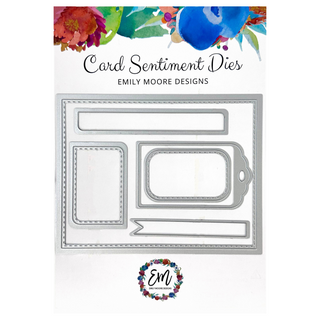
Hey crafty friends! I'm so excited to show you this fun technique. I bet looking at this card, you'd think I had a snowflake embossing folder that I used to create this background... the answer is actually no! Today I am going to show you how you can use your die cuts to create faux embossed backgrounds for cardmaking (& more!). Oh, and I can't forget, that sentiment is from my FREE Christmas sheet printable that is available to YOU! These coordinate with our Card Sentiment Dies and allows you to print these sentiments (no stamping needed!) as many times as you'd like! Today, I used some shimmer cardstock to print on and love the result. I hope you grab yours! Check out my full process video of how this lovely card came together below.
First, I grabbed my NEW FREE printable sheets! I decided I wanted to use one of the longer sentiments that pairs with the longest die in our Card Sentiment Dies. For this card, I decided to print on some white shimmer cardstock I had, and it worked wonderfully! Make sure to check with your printer, but I used an 8.5 x 11 cardstock (about as heavy as photo paper) and it worked so nicely! From there, I was able to die cut out the saying, but before doing that, I used a neat trick where I apply Cherry Tape to the back, so that my die becomes a sticker, and I can then just peel the backing off the adhesive once I'm ready to use it and stick it on my card, no glue needed!
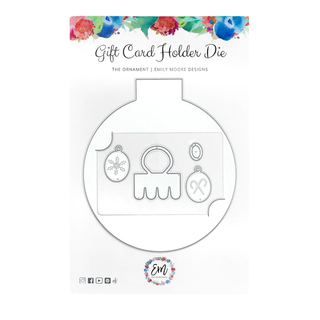
I used this same exact process with my Snowflake Die Cuts. I really wanted to create an embossed background with snowflakes, but didn't have a snowflake embossing folder. So instead, I grabbed my dies and used this fun technique! All you need is some cardstock for the background of your card, and then you will use the SAME color cardstock for the die cuts, making this look like an embossed image background. I also used my Cherry Tape here on the back of my cardstock to create "stickers" before die cutting my snowflakes so it was easier for me to put onto my paper, and that way there was no glue residue.
From there, all I had to do was peel the backing off each snowflake, and place it in a sort of pattern so it would fit on my cardstock. Some on the sides overhang, but that was done intentionally. Once I was complete with placing the snowflakes down in their rightful positions, I trimmed the edges, making this effect look EVEN cooler! Although this does take more time and effort than using an embossing folder, I really love the way it turned out. A process like this for me is sometimes soothing. This is something you could do in front of the TV!
Now it was time for my sentiment! I am so excited about these sentiments I created, mainly because I don't have to worry about stamping and the text being off! You get a perfect sentiment every time, and being able to print on cardstock was a game changer for me. I do have a video of how to use these free printable sheets if that is helpful. For this card, I decided to use the saying "I'm dreaming of a White Christmas" because I created this monochromatic look with the white on white. Monochromatic means using just one color (like I did with the white here). I stuck my sentiment on with the Cherry Tape backing, but I did feel like I wanted to add a little color.
So I reached for some sequins! Of course, ha! I scattered just a few around the center of the snowflakes, just to add a little touch of sparkle. I am in love with the way this card turned out. Do you have any die cuts you feel you could use this technique with!? Let me know if this is something you are going to try! Don't forget to grab your FREE printable sheets to create some lovely Christmas cards!
Thanks so much for stopping by, your support means so much to me!
With Heart,
Disclosure: Compensated affiliate links may be used above at no cost to you. I only show you products from companies that I believe in and purchase from personally. Thank you for supporting me so that I can continue to bring you lots of fun crafting content!


