Step 1: Shop the Project!
Get Ready to Create! Gather Everything You Need to Bring Your Project to Life Below
Step 2: Learn the Project!
Step 3: Create with Confidence
Hi my crafty friends! What I love most about this foil is that there are no expensive machines or equipment needed!
Emily Moore Designs now carries Scrapbook Adhesives by 3L products! One of them being, their lovely Metallic Pastel Foils. I love these foils because you don't need any expensive equipment to get started. I simply use Crafty Power Tape & Adhesive Sheets to simply apply my foil.
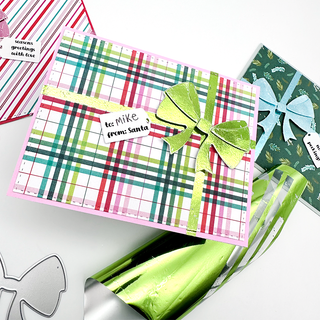
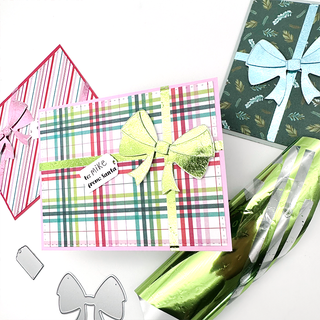
First, I start by using the A2 Liner Die in our Card Sentiments Die Set. I chose some Paige Evans paper I had in my stash to make this fun plaid Christmas card base. It was as simple as adhering this onto my A2 card base. Our A2 Liner Die, included in Emily Moore Designs Card Sentiment Dies, is the perfect outline for an A2 sized card, and I love the way that turned out here! Then, just apply your Crafty Power Tape onto your card going vertically & horizontally. You'll do one at a time, applying your foil (color side UP) onto your Crafty Power Tape to get that lovely ribbon look.
For the back pocket, I just cut out another piece of pretty cardstock to 5.5 inches in length & 2 inches in width. Now you just need a thin, sturdy tape to put on the back side of your pocket, just the sides & the bottom part, leaving the top part open so you can slip your Gift Card Holder into it. Get the perfect sized gift card holder using Emily Moore Designs Gift Card Holder Die!
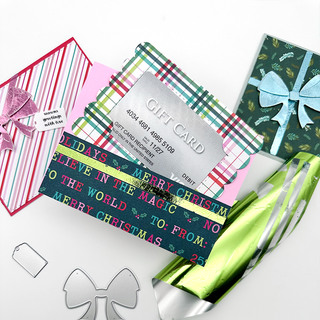
To create your beautiful foiled bow, grab an Adhesive Sheet and put it onto some plain cardstock. Run your bow through your die cutting machine WITH your adhesive sheet on the top. This way, you can peel the backing off, and apply your foil to your bow!
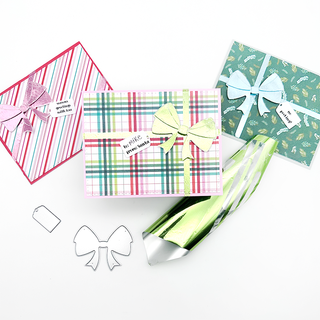
I like to create my bow with some thin foam squares to add a little dimension between all the foil. Then, just adhere your bow onto your card, where your "ribbon" crosses on the front, and don't forget the adorable mini gift tag!
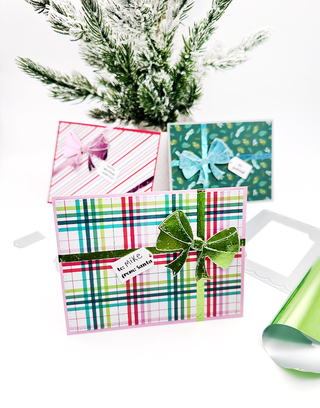
The only thing left is to cut out a Gift Card Holder for your pocket of your card. I use the same plaid paper on the front of my card to keep it coordinating, and then I also put a piece of paper on the back of my Gift Card Holder (4 inches by 3 inches) so you have a spot to write some sentiments on. Just make sure you don't adhere down the slits on your Gift Card Holder.
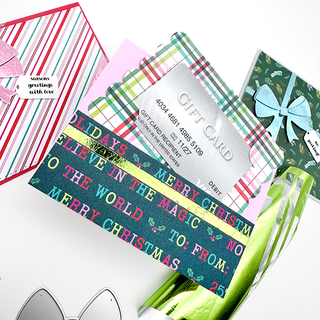
You can even put a little ephemera in the pocket as well, or maybe a fun holiday picture!
I hope you loved making this card as much as I did!
With heart, Emily
