Not long ago, Mike & I flew out to Phoenix to take part in a YouTube Live with Scrapbook.com. It was truly a dream come true, and we had so much fun! On that Live, we created this Ornament Shaped Card with a Gift Card Holder featuring our New Nested Ornament Die Set with our Ornament Gift Card Holder Die.
You all loved it so much, I wanted to be able to share this with you using step-by-step instructions so it's super easy to follow along!
Begin with the largest Ornament Die in our Nested Ornament Die set. Take an 8.5 x 11 piece of cardstock or larger & fold it in half. You will place the Die onto the cardstock with part of the folded cardstock not being cut by the die.
This will allow you to create an ornament shaped card base!
Once you have that, you can pick your paper! I love using a plain cardstock for my Ornament base & then adding some patterned paper into the mix. For this card, I am using Catherine Pooler's Holiday Spice 6x6 Paper Pack.

Now time to cut out all your elements! This is the fun part. Below you will find a diagram of everything you need & all the products listed out & linked below the photo.

Products Used:
- Ornament Nested Die Set (used to create card base & cover Ornament)
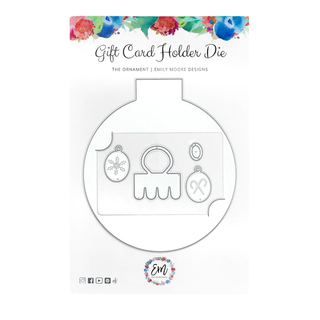
- Gift Card Holder Die - The Ornament
- Large "Hi" from Hi, hey, hello Word Die Set
- So Charming Die Set (optional but super fun!)
- Shaker Frame Die - The Doily (just used the small oval die)
- all the happy things Stamp Set (sentiments used: it's Christmas | and it's a gift card!)
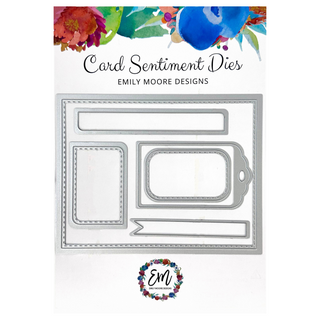
- Decorative Sentiment Dies (used the small banner in the set)
I also used Sike! Lunar Paste for my toppers & charm on this card, but I also love using Gold Rush, Silver Lining, and my new favorite, Refined Copper.

I like to use the same pattern paper for the doily oval that I use for the front of my card - That way the design ties in!

The other fun part is stamping out "it's Christmas" from our all the happy things Stamp Set. I actually move our stamp on my platform to form it around the oval. This time, I moved my oval after a bit, just because I was a little too close to it when I stamped it. Yay for repositionable tape!
I used the color Spruce for the "it's Christmas" stamp. I just love how crisp & dainty our font is! Then just add the large "Hi" and you're all set for this side of the card!

For the right side of the Ornament card, you will cut out an Ornament Gift Card Holder Die. This can be in a different pattern or color.
Start by cutting out an Ornament Gift Card Holder like you normally would, then on the left side, mark where the circle buts up against the edge of the card. Trim just a little bit off that side so that when you secure the gift card holder, the card will fold evenly.


From here, it's just about adding the toppers, one for each side of the ornament! (Front & back, front & back). Then I stamped "and it's a gift card!" onto the short banner from our Decorative Sentiment Die set & put that onto the center of my Gift Card Holder Die!
When there's a gift card in there, you can't see the sentiment! I used Wintergreen ink for this one.
I chose this really pretty plaid for the front of my ornament (& the doily oval on the inside).
I really enjoy making these Ornament Shaped Cards & I hope you will try it out also!

Below you will find my LIVE YouTube video with Scrapbook.com! I had a blast with Laura & Cody making these - enjoy the video if you have yet to see it!
My goal with this business is to just spread happiness & let people know, you CAN do this! Even if it looks hard, even if you've never done it before, I really believe you can learn to do anything you want. I really feel like this project in general can give you some happiness. I'm also always here to help, so please feel free to leave a comment or email me with any questions! But most of all, I hope this brings you joy!
xoxo, Emily


Donna
The ornament die set and gift card die for the ornament shaped card were an absolute pleasure to work with! I’ve had so many compliments on the cards and had the BEST time creating them!
Jasmin Williams
This idea is so fun. And thank you for the detailed tutorial. I have no doubt that I can recreate this now.