Author: Emily Moore
Hi crafty friends! Emily with you today & I am VERY excited to be sharing a card featuring our BRAND NEW products!! The Decorative Sentiment Dies & all the happy things Stamp Set! Today, I'm sharing how to use our yay! Layered Word Die with these fun new products. Below you can find a full process video if that's more your speed. Keep scrolling for step-by-step photos & the beautiful end result!
To begin this card, start by grabbing some of your favorite patterned paper. I chose a blue for the theme of this card, as it's for a friend who is having her first baby: a boy! I felt the blue floral paper worked perfectly.
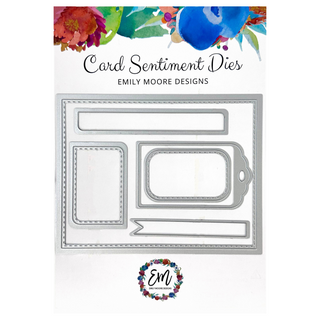
You'll start by cutting out an A2 card base using our A2 Liner Die in the Card Sentiments Die Set. From there, use the largest die in the yay! Layered Word Die Set to cut out the outline of the "yay" directly in the center of your card base.

You can save the cut out "yay!" outline for a separate card! Next step, find a coordinating color to go behind your card base, something that will make the yay! word pop! I chose a dark blue cardstock & decided the white looked really pretty against it and makes the yay! look even more striking.

I found that 3x4 piece fits behind the "yay" hole perfectly, without showing through the A2 Liner Die. Now, time to cut out the actual word: yay!
Cutting out multiple yay's I've found makes it more visually appealing. You can definitely skip this step, but to make it simpler, grab some Adhesive Sheets & put them on the back of your cardstock before cutting out the word die. This will create a sort of sticker for the back of your yay!'s so that you can stack them easily!
Make sure to tape down your backdrop cardstock to your card base. You could use some foam here to create dimension, but I wanted the yay to pop out as much as possible so decided to keep it flat.

Look how much dimension the yay gets with 3 of the words stacked on each other!
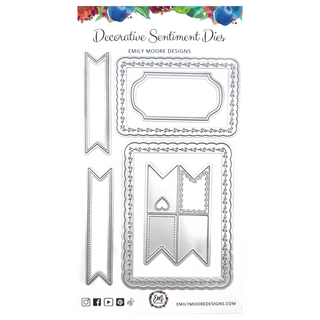
Now, time to add your sentiments! I found it extremely easy to assemble this card using our NEW Decorative Sentiment Dies. It just made it very simple to choose & also have unique elements in my card to make it even more visually appealing. It's important to note that the banners in the Decorative Sentiment Die Set have the same stitching as that largest cut in the yay! Layered Word Die. I did this purposefully, knowing we'd be using these banners with our yay die to "complete the sentence" with the help of the all the happy things Stamp Set!
Now it's just about choosing the right sentiments for the outside & inside of your card! This stamp set includes 28 different sayings that you can mix & match to create your own sentiments & make unique cards of your own. I decided to go with "you're going to be..." on the front & "a mom!" along with "so happy for you!" on the inside of this card. Using the Largest Decorative Frame in this Die Set allowed me to add something unique to the inside of the card.
Not just the decorative top half, but I also lined the bottom half with the Decorative Die Framed with the A2 Liner Die & it looks truly stunning. I love all the little details of the embossed elements on these dies & I know you will too! Let me know in the comments what you think of this card. What stamps do you think you'll use most in our new set??
 I can't wait to hear what you think! I even put a little heart in the corner from one of the chunky banners in the Decorative Sentiment Dies Set!
Stay crafty friends,


