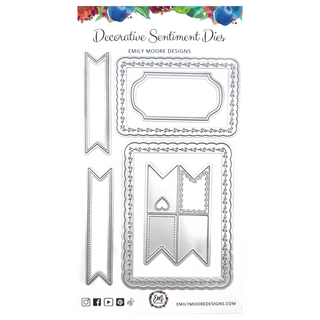
Hi crafters! Today I have a blog post featuring the "chunky banners" from our Decorative Die Set. I know this product is currently out of stock, but I wanted to provide you with some inspiration either while you wait to purchase, or for those who already have gotten them! Below you will find a full process video sharing my step by step process. Keep reading for more info as well!
You know what we can never have enough of? Birthday cards. I genuinely feel like if all I made was birthday cards, I'd still be out of them by the end of the year! And what goes great with birthdays?: confetti. Our Confetti Layered Stencil is so fun to use because you can literally mix & match 'til your hearts desire, and it really can be used for so many occasions!
 Good news is, we are now back in stock of the Gold Rush Lunar Paste! You guys LOVE this stuff and it's no wonder why. It's really the perfect shade of gold. It goes so wonderfully with our Confetti Layered Stencil, so I used it as the final layer on both the inside & outside of my card!

I cut out 2 sets of banners, which gave me 8 total! But only needed 4 for this mini slimline card. A mini slimline card is a total of 7 x 6 inches scored on the 7 inch side at 3.5 inches. A popular slimline card is 8.5 inches by 7 inches scored also at 3.5 inches on the 7 inch side. You can see the difference below.

The popular slimline card can comfortably fit 6 chunky banners while the mini fits 4! Once the confetti was dried & complete, it was as easy as putting my banners onto my card with some foam squares, and choosing the perfect sentiments!
 If you want to see the oopsie I made on this card, be sure to watch the YouTube video. I'm curious, do you like the gold edges on this card? Would you have thought that came from a mistake? Let me know in the comments!
xoxo, Emily


