

Hi my fellow crafters! Today I am sharing this super fun card make featuring some of our NEW products from the Let's Celebrate line! Today I am focusing on something completely new to us as a business, our Confetti Layered Stencil! This is the first stencil I've created, and I'm very excited about the design aesthetic of it, but also the versatility, which is something I always strive to provide for you all! Below is a full process video showing you how I created this lovely card. Below I have even more details about our New Confetti Layered Stencil, keep reading to see!
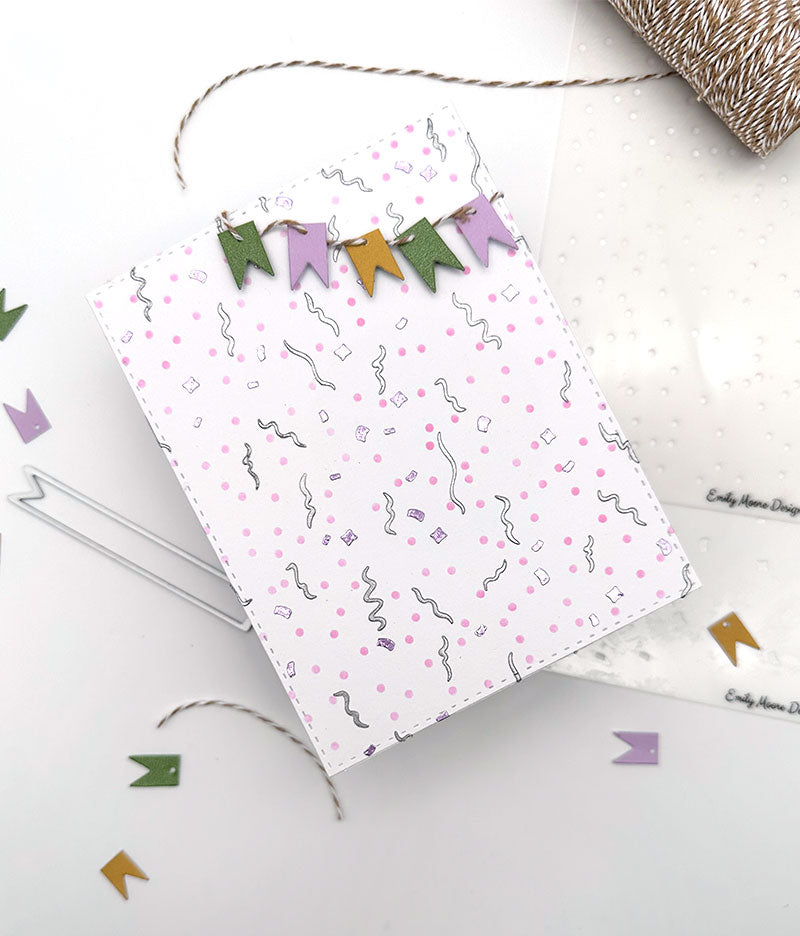
Our Confetti Stencil is 6x6 and features 3 separate layers, when put together makes a busy & colorful confetti background! Having 3 separate stencils allows you to add different ink colors or/and as you see in my video above, different mediums! For this background, I started with a pink ink for the polka dot layer, then added some Tacky-When-Dry Paste for the second confetti layer, which then got some beautiful pastel purple foil. And the third layer, the streamers, got a nice spread of Simon Hurley's Silver Lining Lunar Paste, which just put the whole look together.
Some Information About The Confetti Layered Stencil
Our Stencils have my business name "Emily Moore Designs" at the bottom, so you always know which direction these stencils are facing. It's not a huge deal for a stencil like this, that doesn't NEED to be lined up perfectly to create the correct image, but I still wanted it to be simple for you all!

We also included 2 "L" shapes on the bottom corners of the stencil. That way, if you'd like to layer, you can easily color in those "L" shapes, then just layer your stencil on top. This was important so we could allow people who don't have sticky mats or other ways to stencil to be able to line up the layers perfectly!
Once lined up, our stencils have virtually NO overlap. Not only that, but you could just use one stencil, multiple ways. I did that in the picture below with the confetti stencil (the shorter looking ones) by rotating the stencil and just using that layer!

Back to the Card!
There's a lot of versatility that comes with our Confetti Layered Stencil, and I know you all will love it as much as I do! Check out the details below to see even more about the card I made!
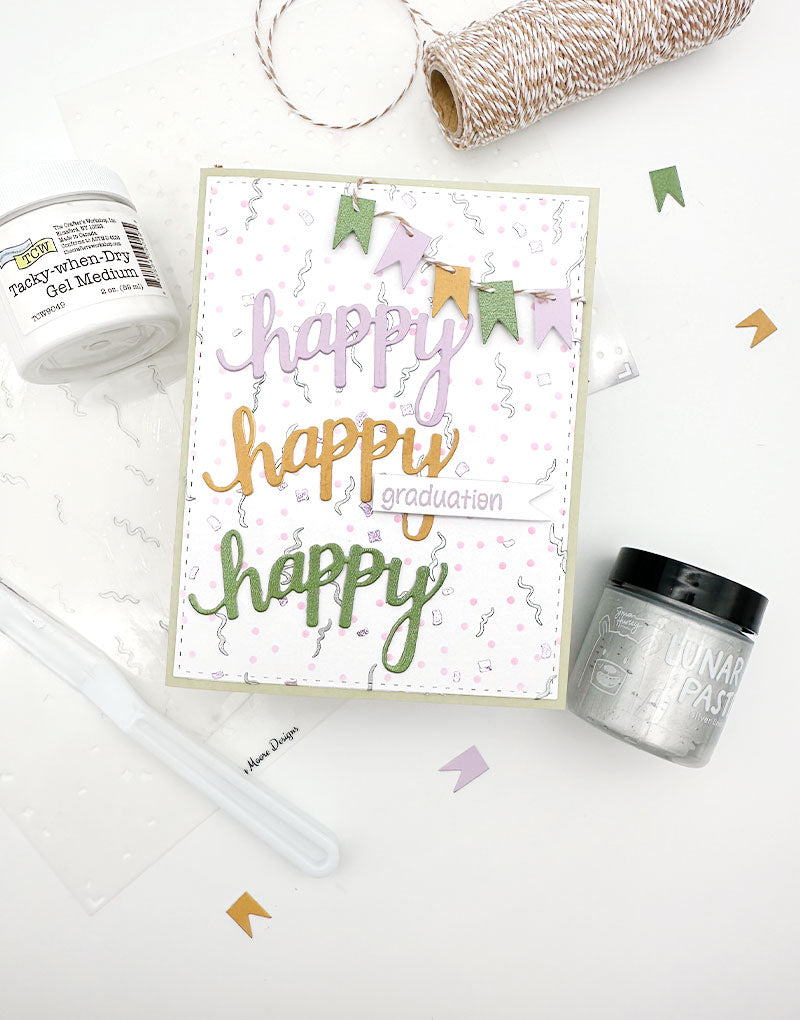
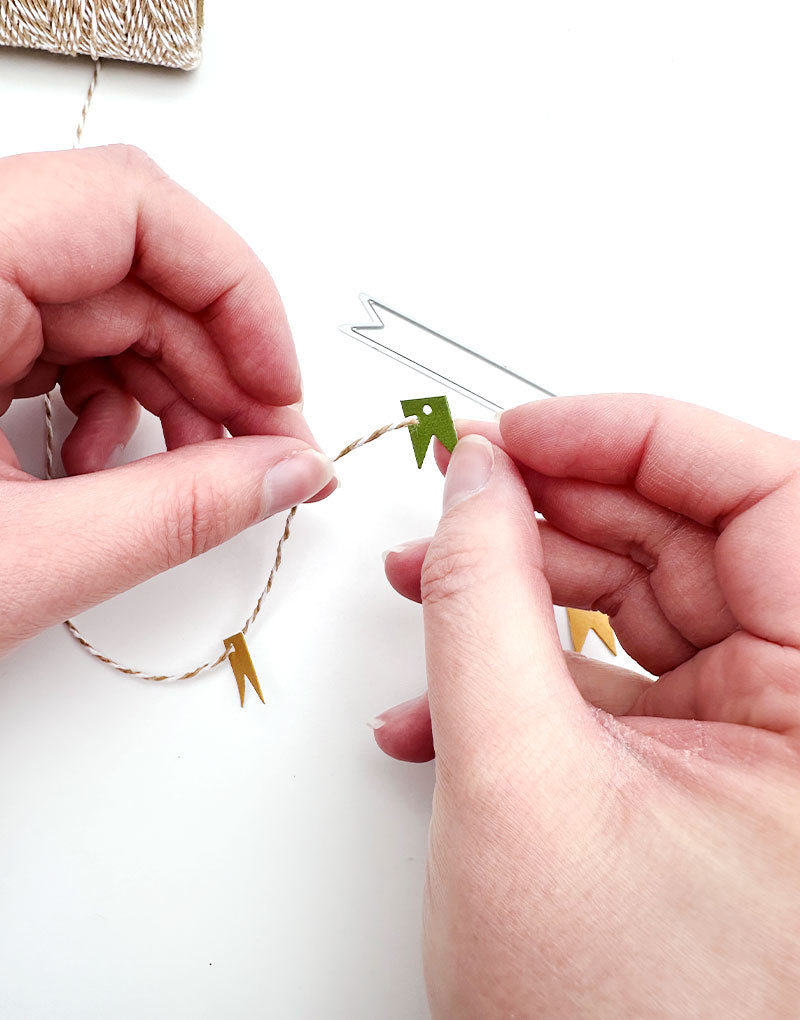
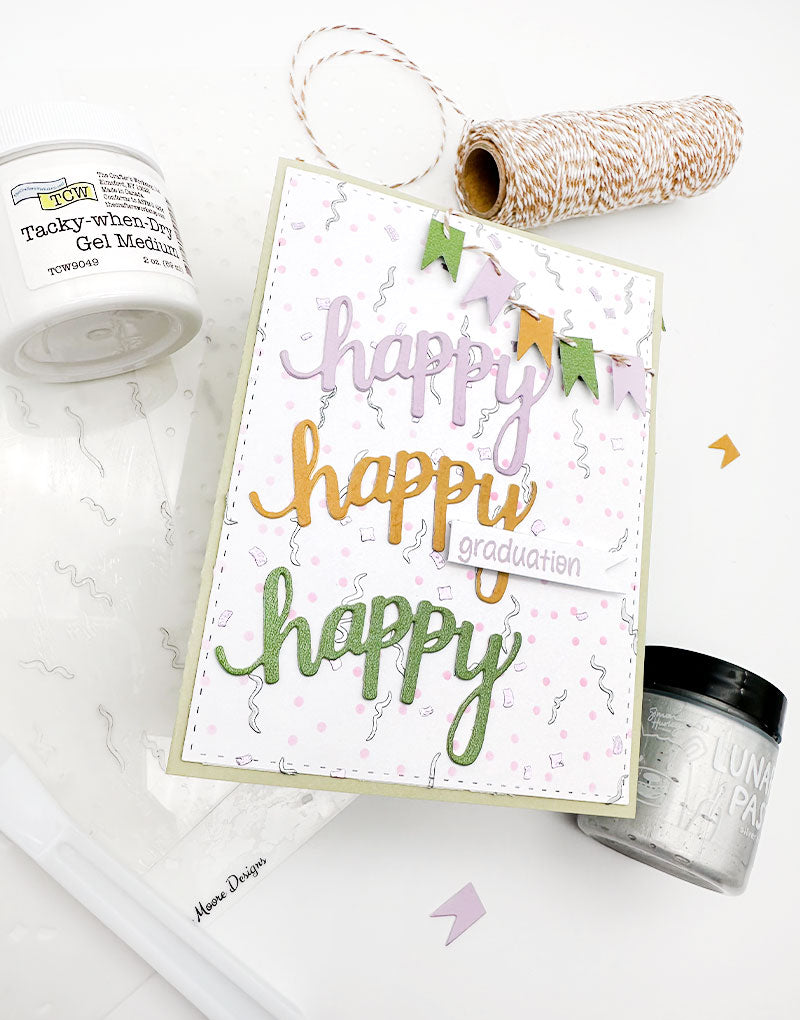
This card was a lot of fun to make. I used the ribbon die from our Card Sentiment Dies to make my own banner! Then I die cut out the word "happy" in 3 different colors and placed on the front of my card. From there, I got to choose my sentiment! This could easily have been a birthday card, but I wanted to make a graduation card since the season is coming up! I stamped the word "graduation" from our Graduation & Retirement Stamp Set onto our ribbon die and placed that onto the front of my card overlapping one of the "happy" words with some square foam tape.

For the inside, our Card Sentiment Dies come in handy with the A2 liner for one side of my card, perfect for writing sentiments on, but I knew I needed something on the left side of my card. I wanted to add more to my background, so I used the Confetti Stencil - again! This time, I just used one layer--twice! I decided to use some more Tacky-When-Dry Medium with the confetti stencil. I then added some bright yellow foil to it to really add that shine. From there, I did another layer, I just rotated the same stencil and did the process over again! This time I used a purple here.
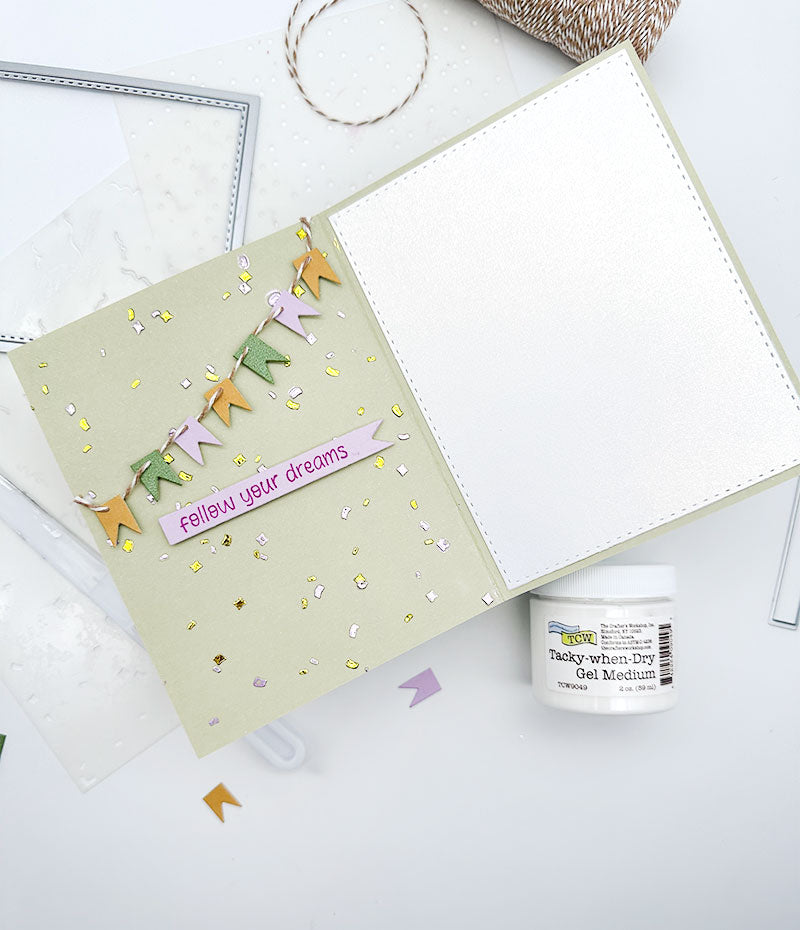
From there, it was as simple as adding what colors coordinated with my handmade banners & card, and adding an adorable sentiment. I chose "follow your dreams" from our NEW Graduation & Retirement Stamp Set and stamped this on our ribbon die from the Card Sentiments Die pack, then just put that on our lovely shiny confetti background with some foam. I also added more of my handmade banner that I created to tie the look together.
I hope you love this card! Our Confetti Layered Stencil is seriously, so much fun! I can't wait to continue to use it and share with you all the many different ways it really can be used!
With Heart,
Disclosure: Compensated affiliate links may be used above at no cost to you. I only show you products from companies that I believe in and purchase from personally. Thank you for supporting me so that I can continue to bring you lots of fun crafting content!


